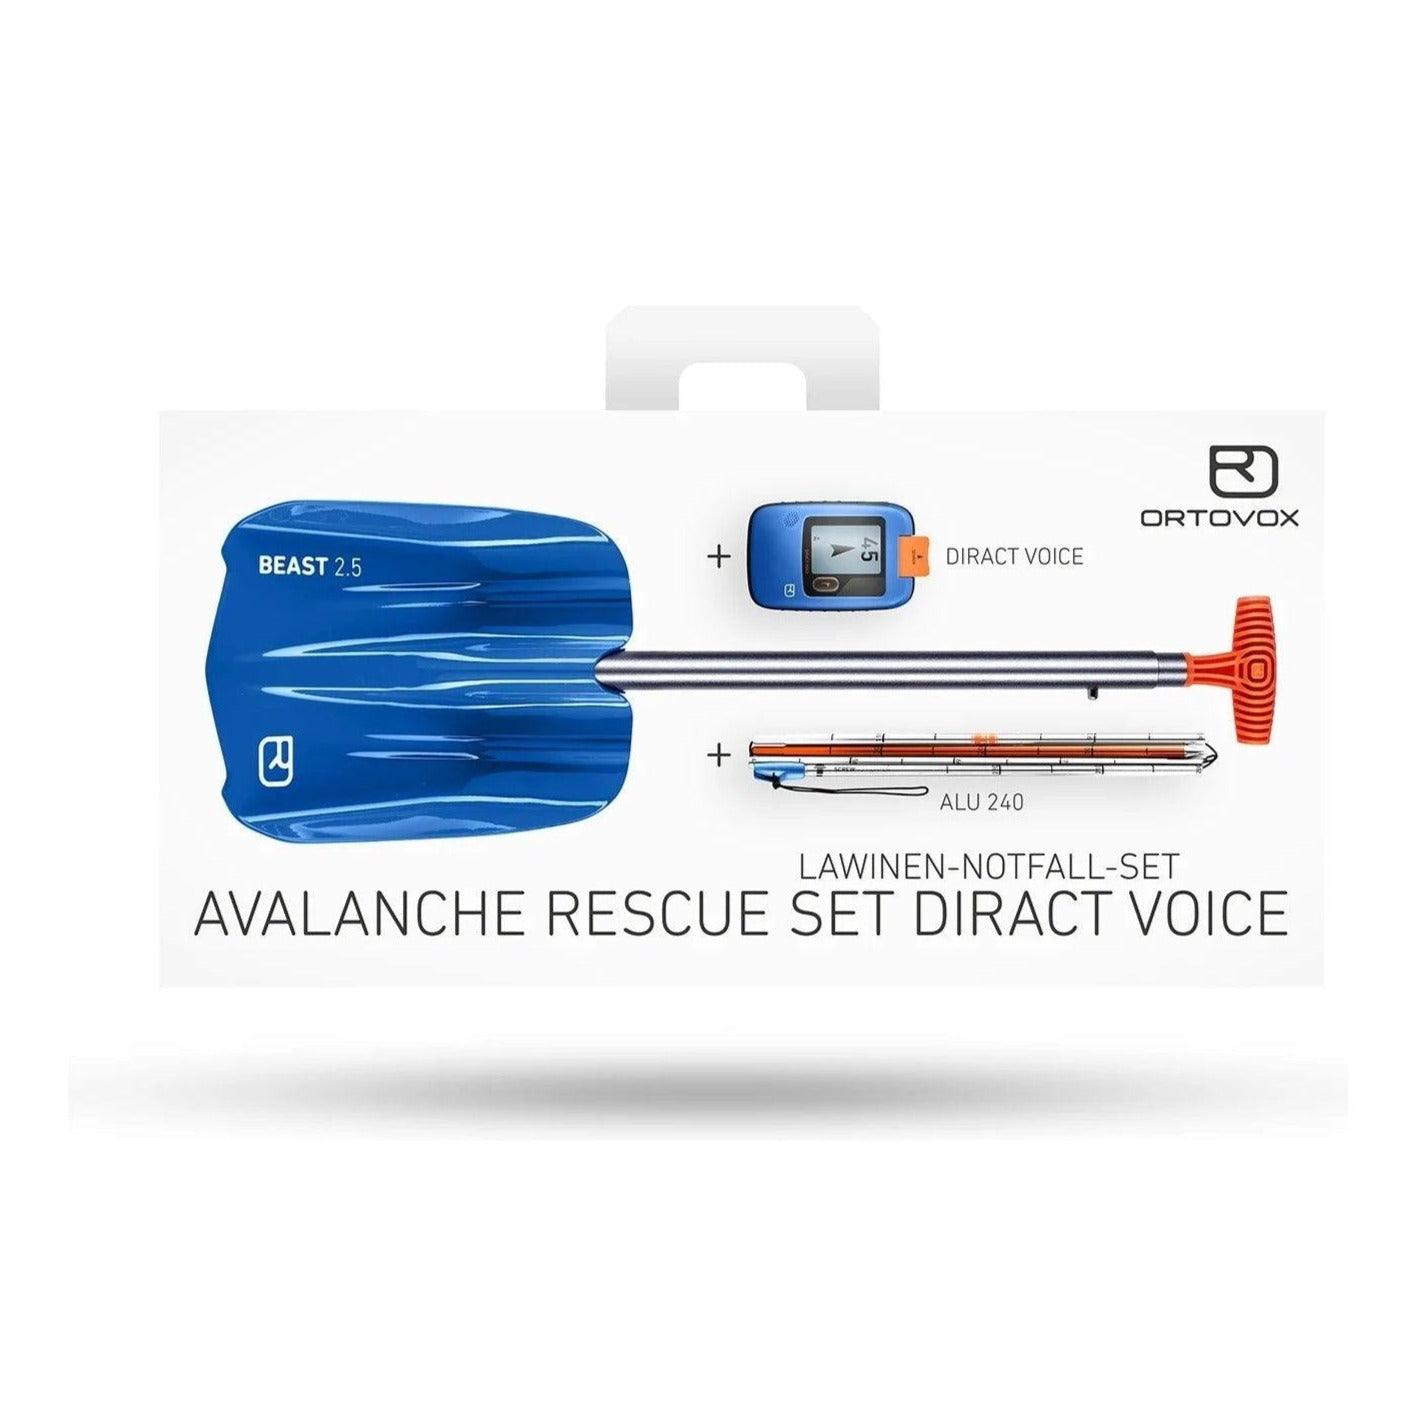
The worst has happened. Your buddy got caught in an avalanche and has been swept downhill hundreds of feet below you. What gear are you two carrying that will allow you to locate him, dig him up, and then call for help?
Beacons
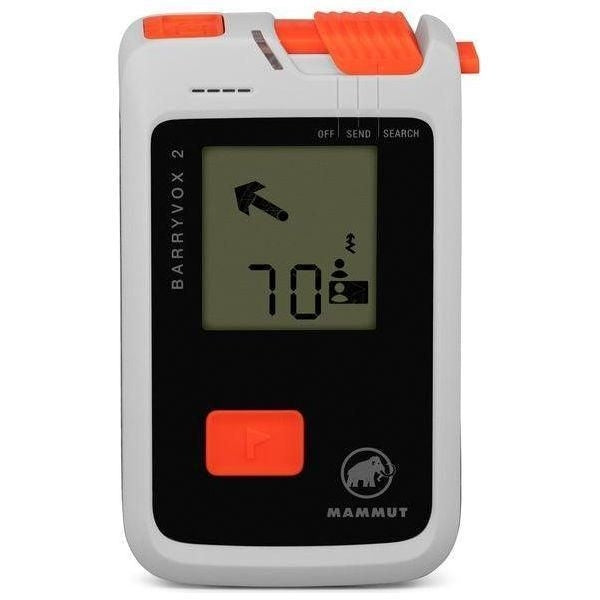
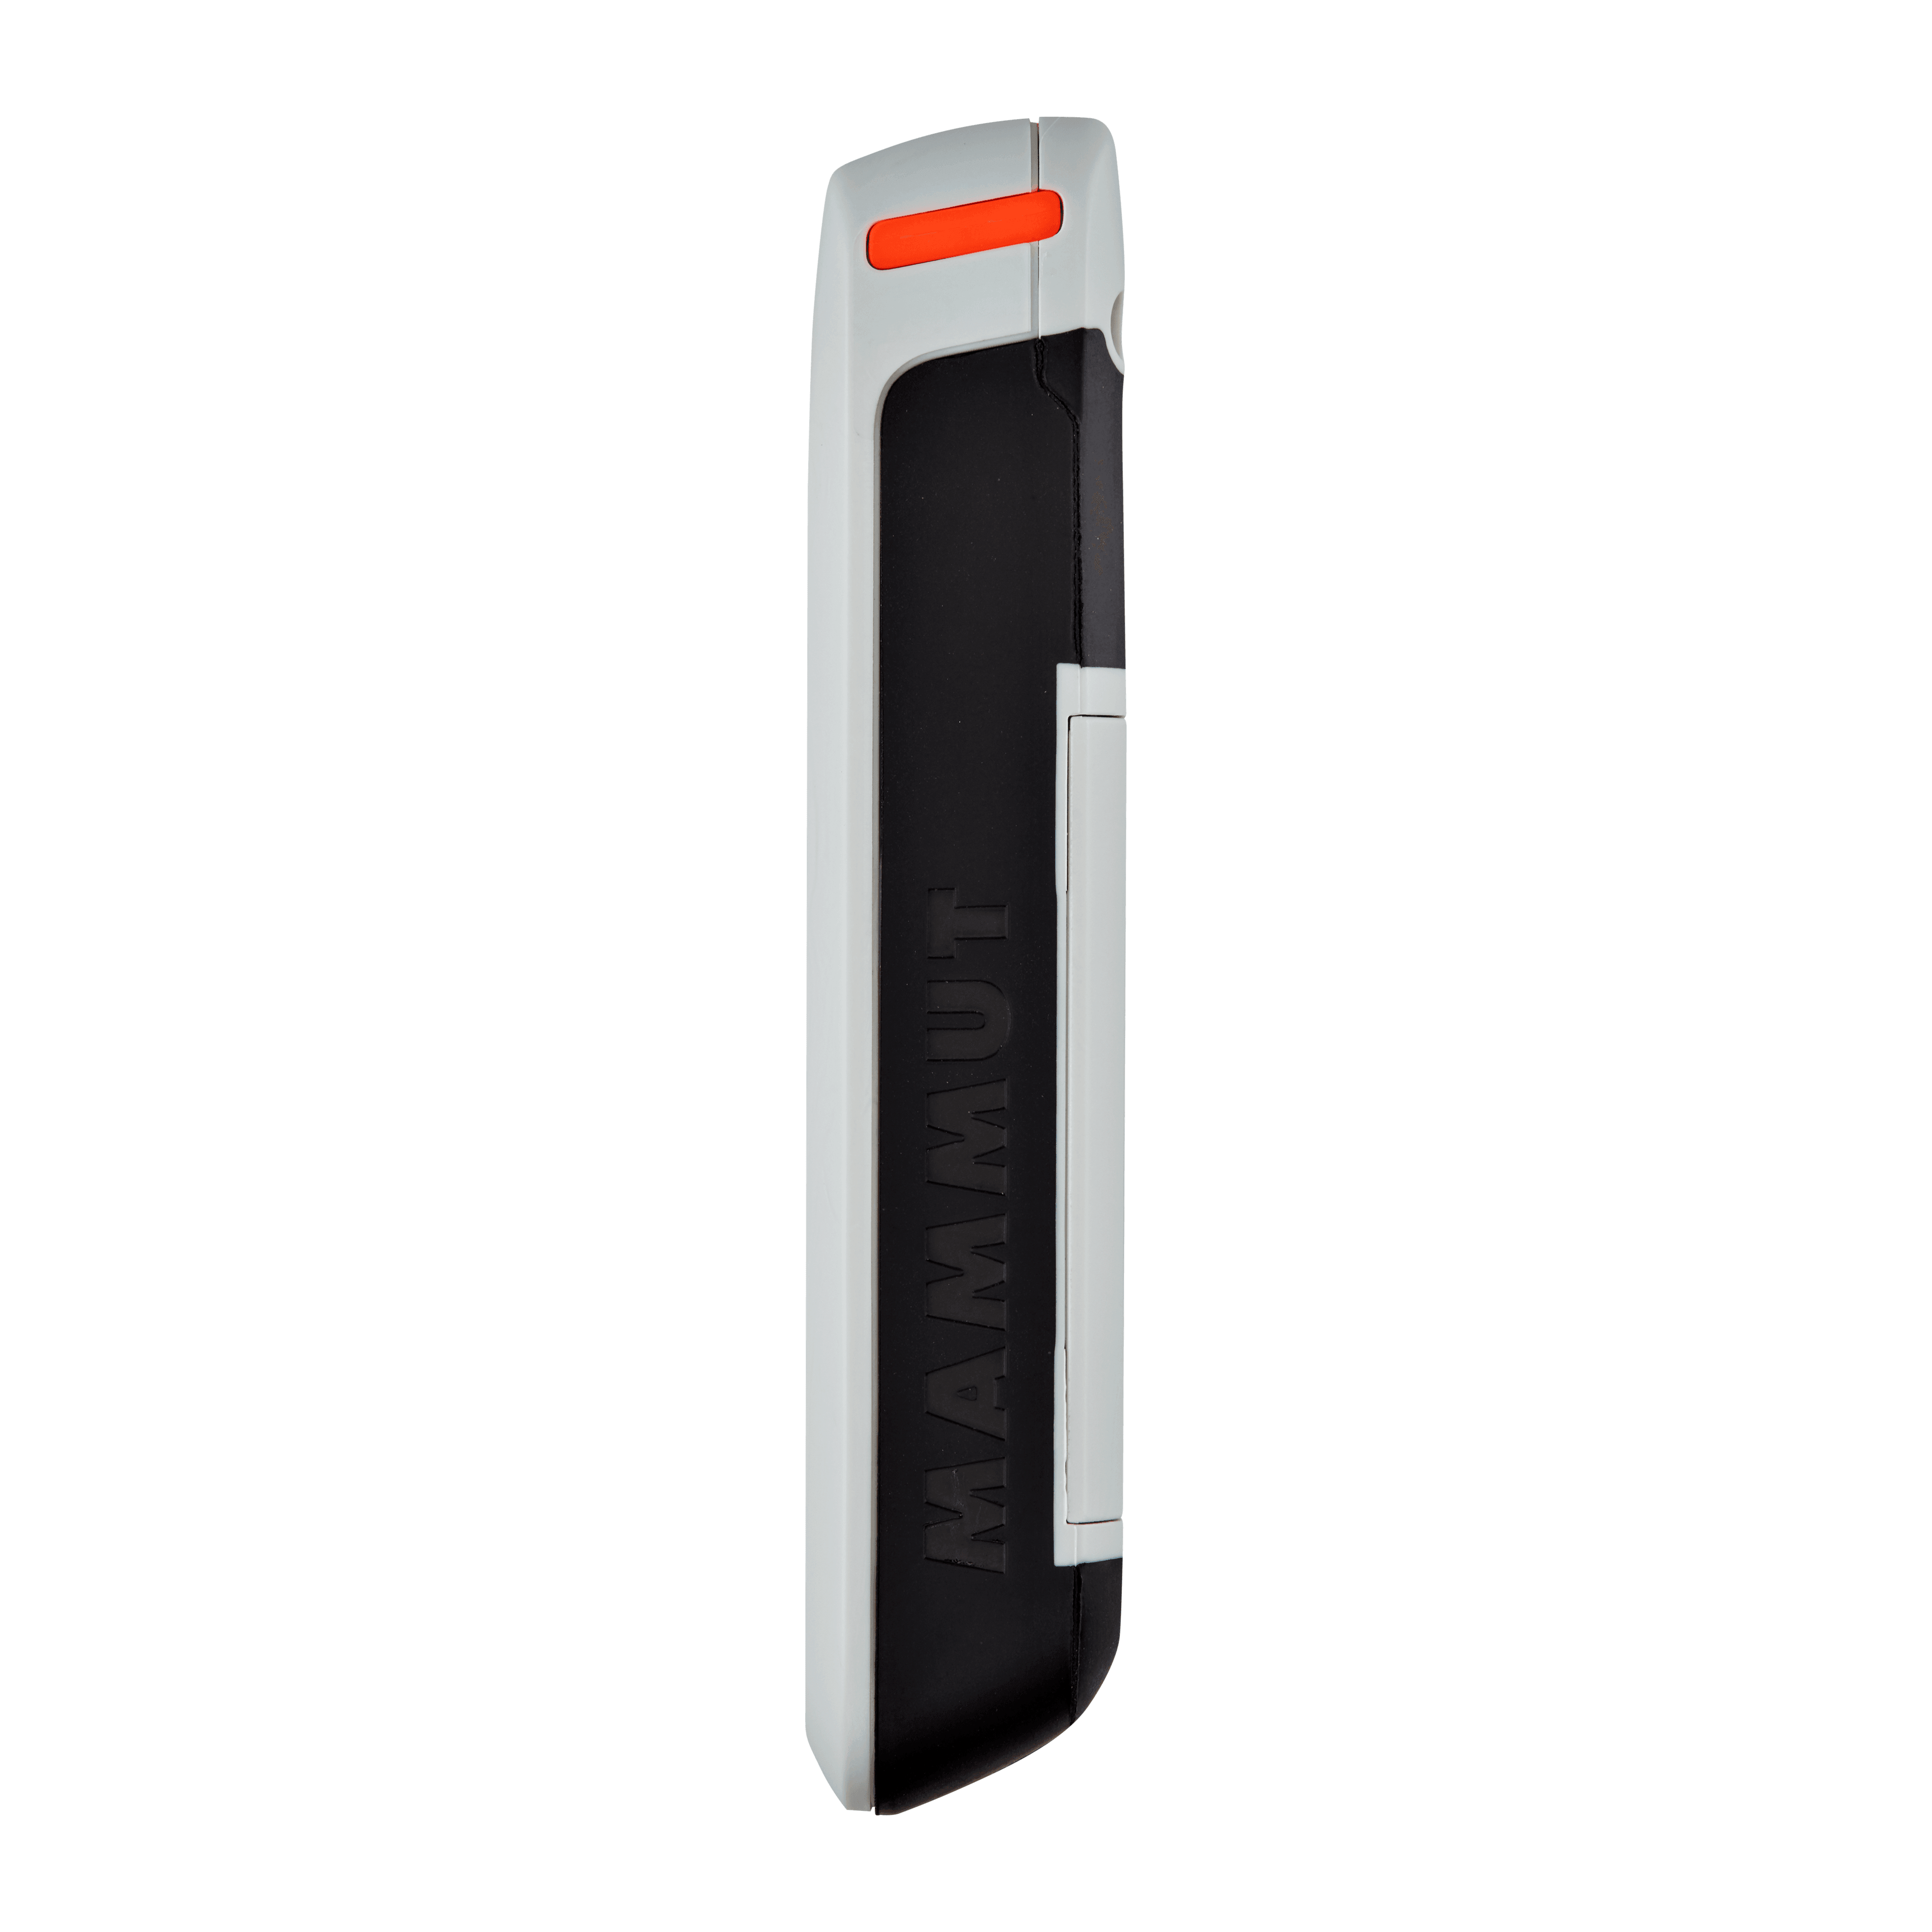
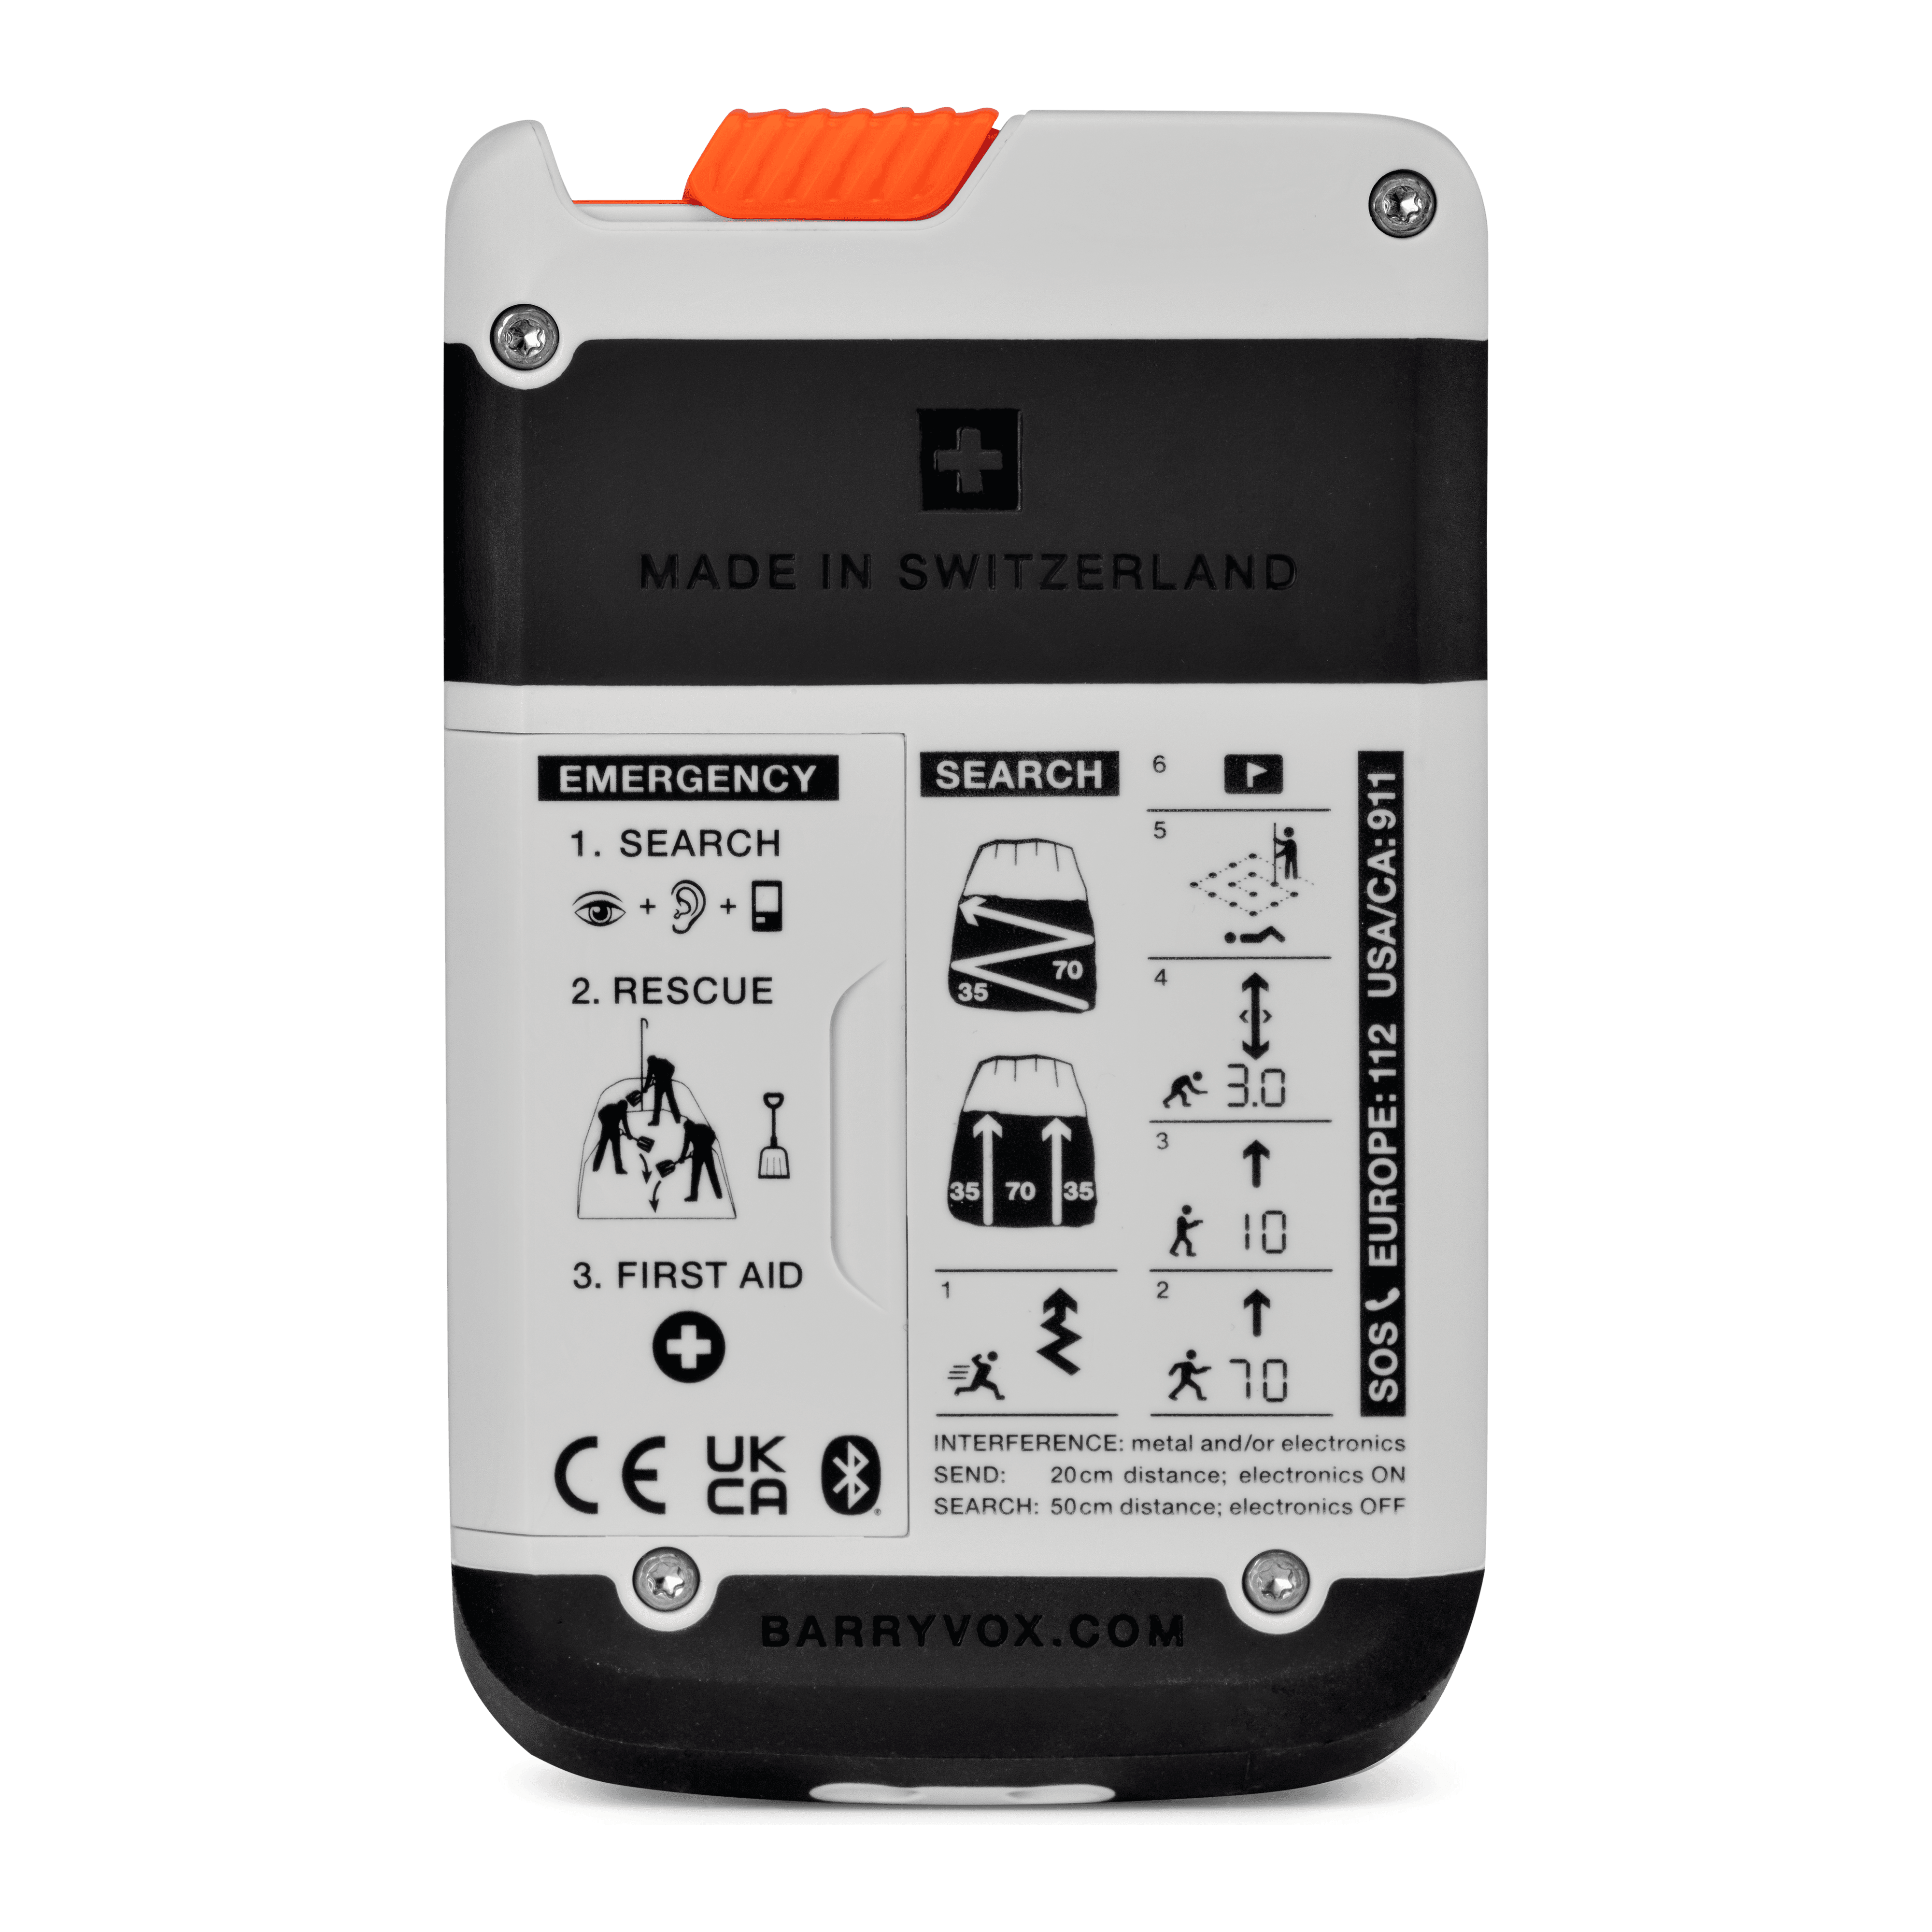
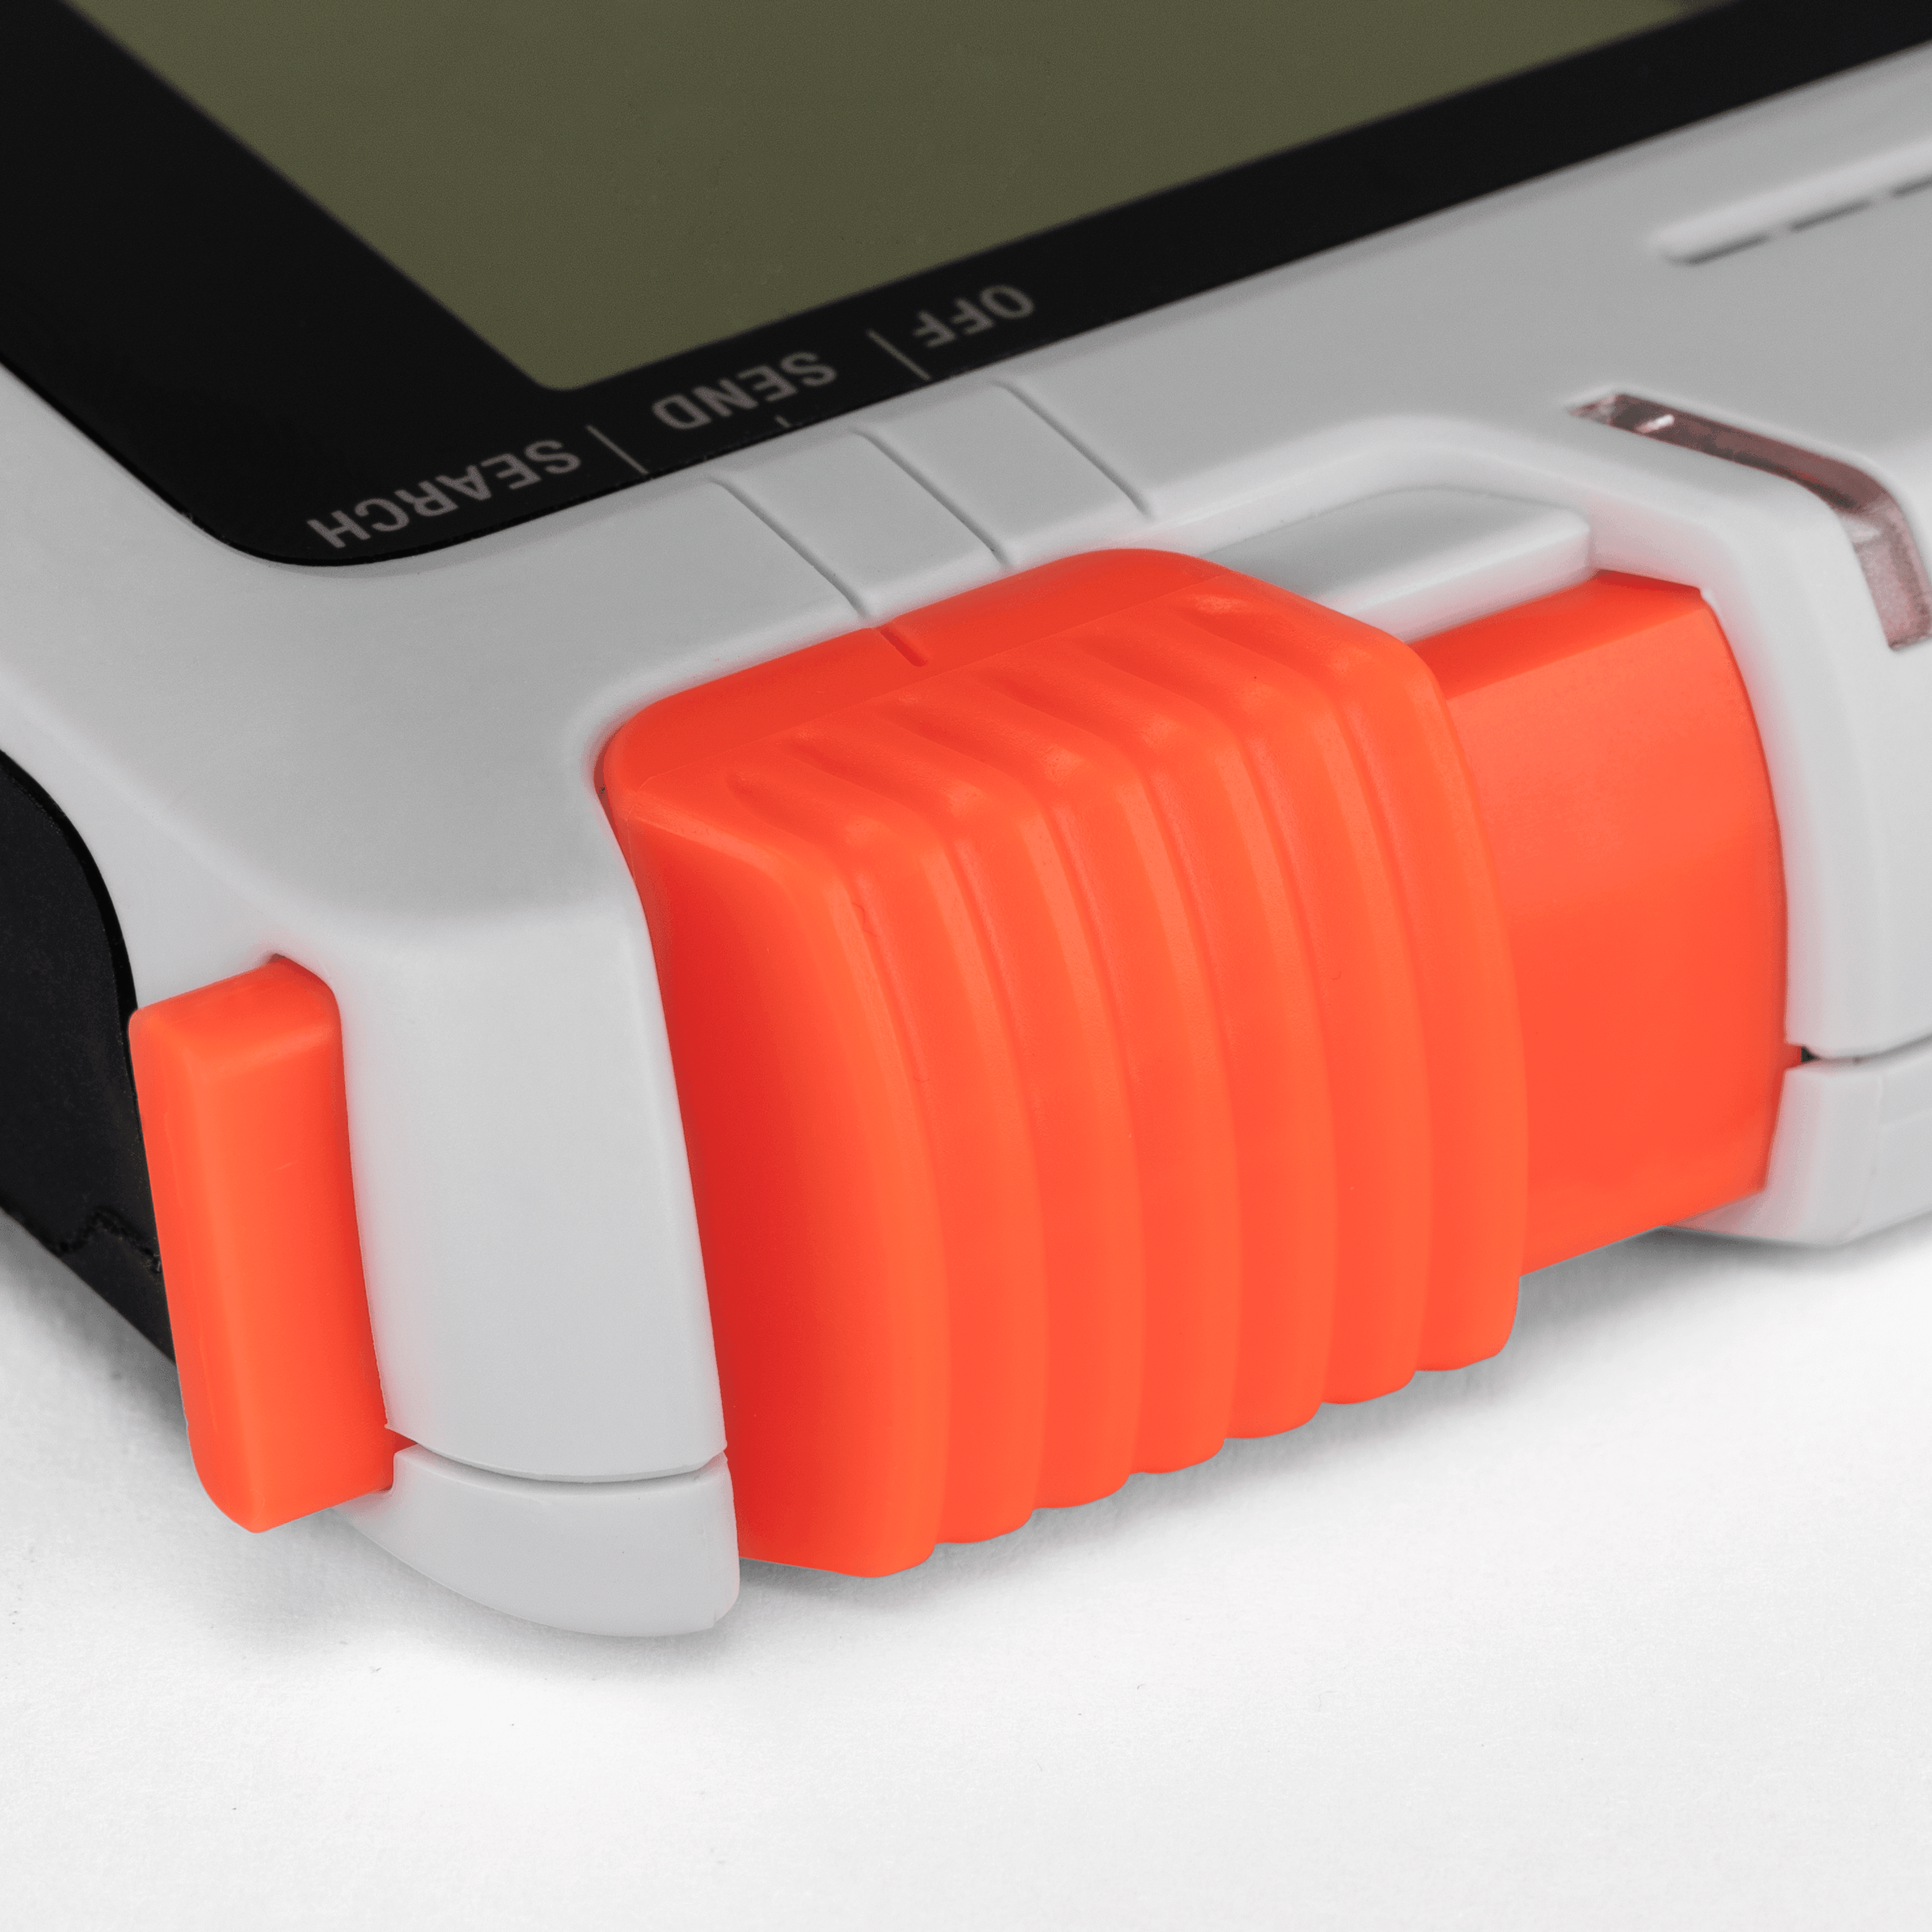
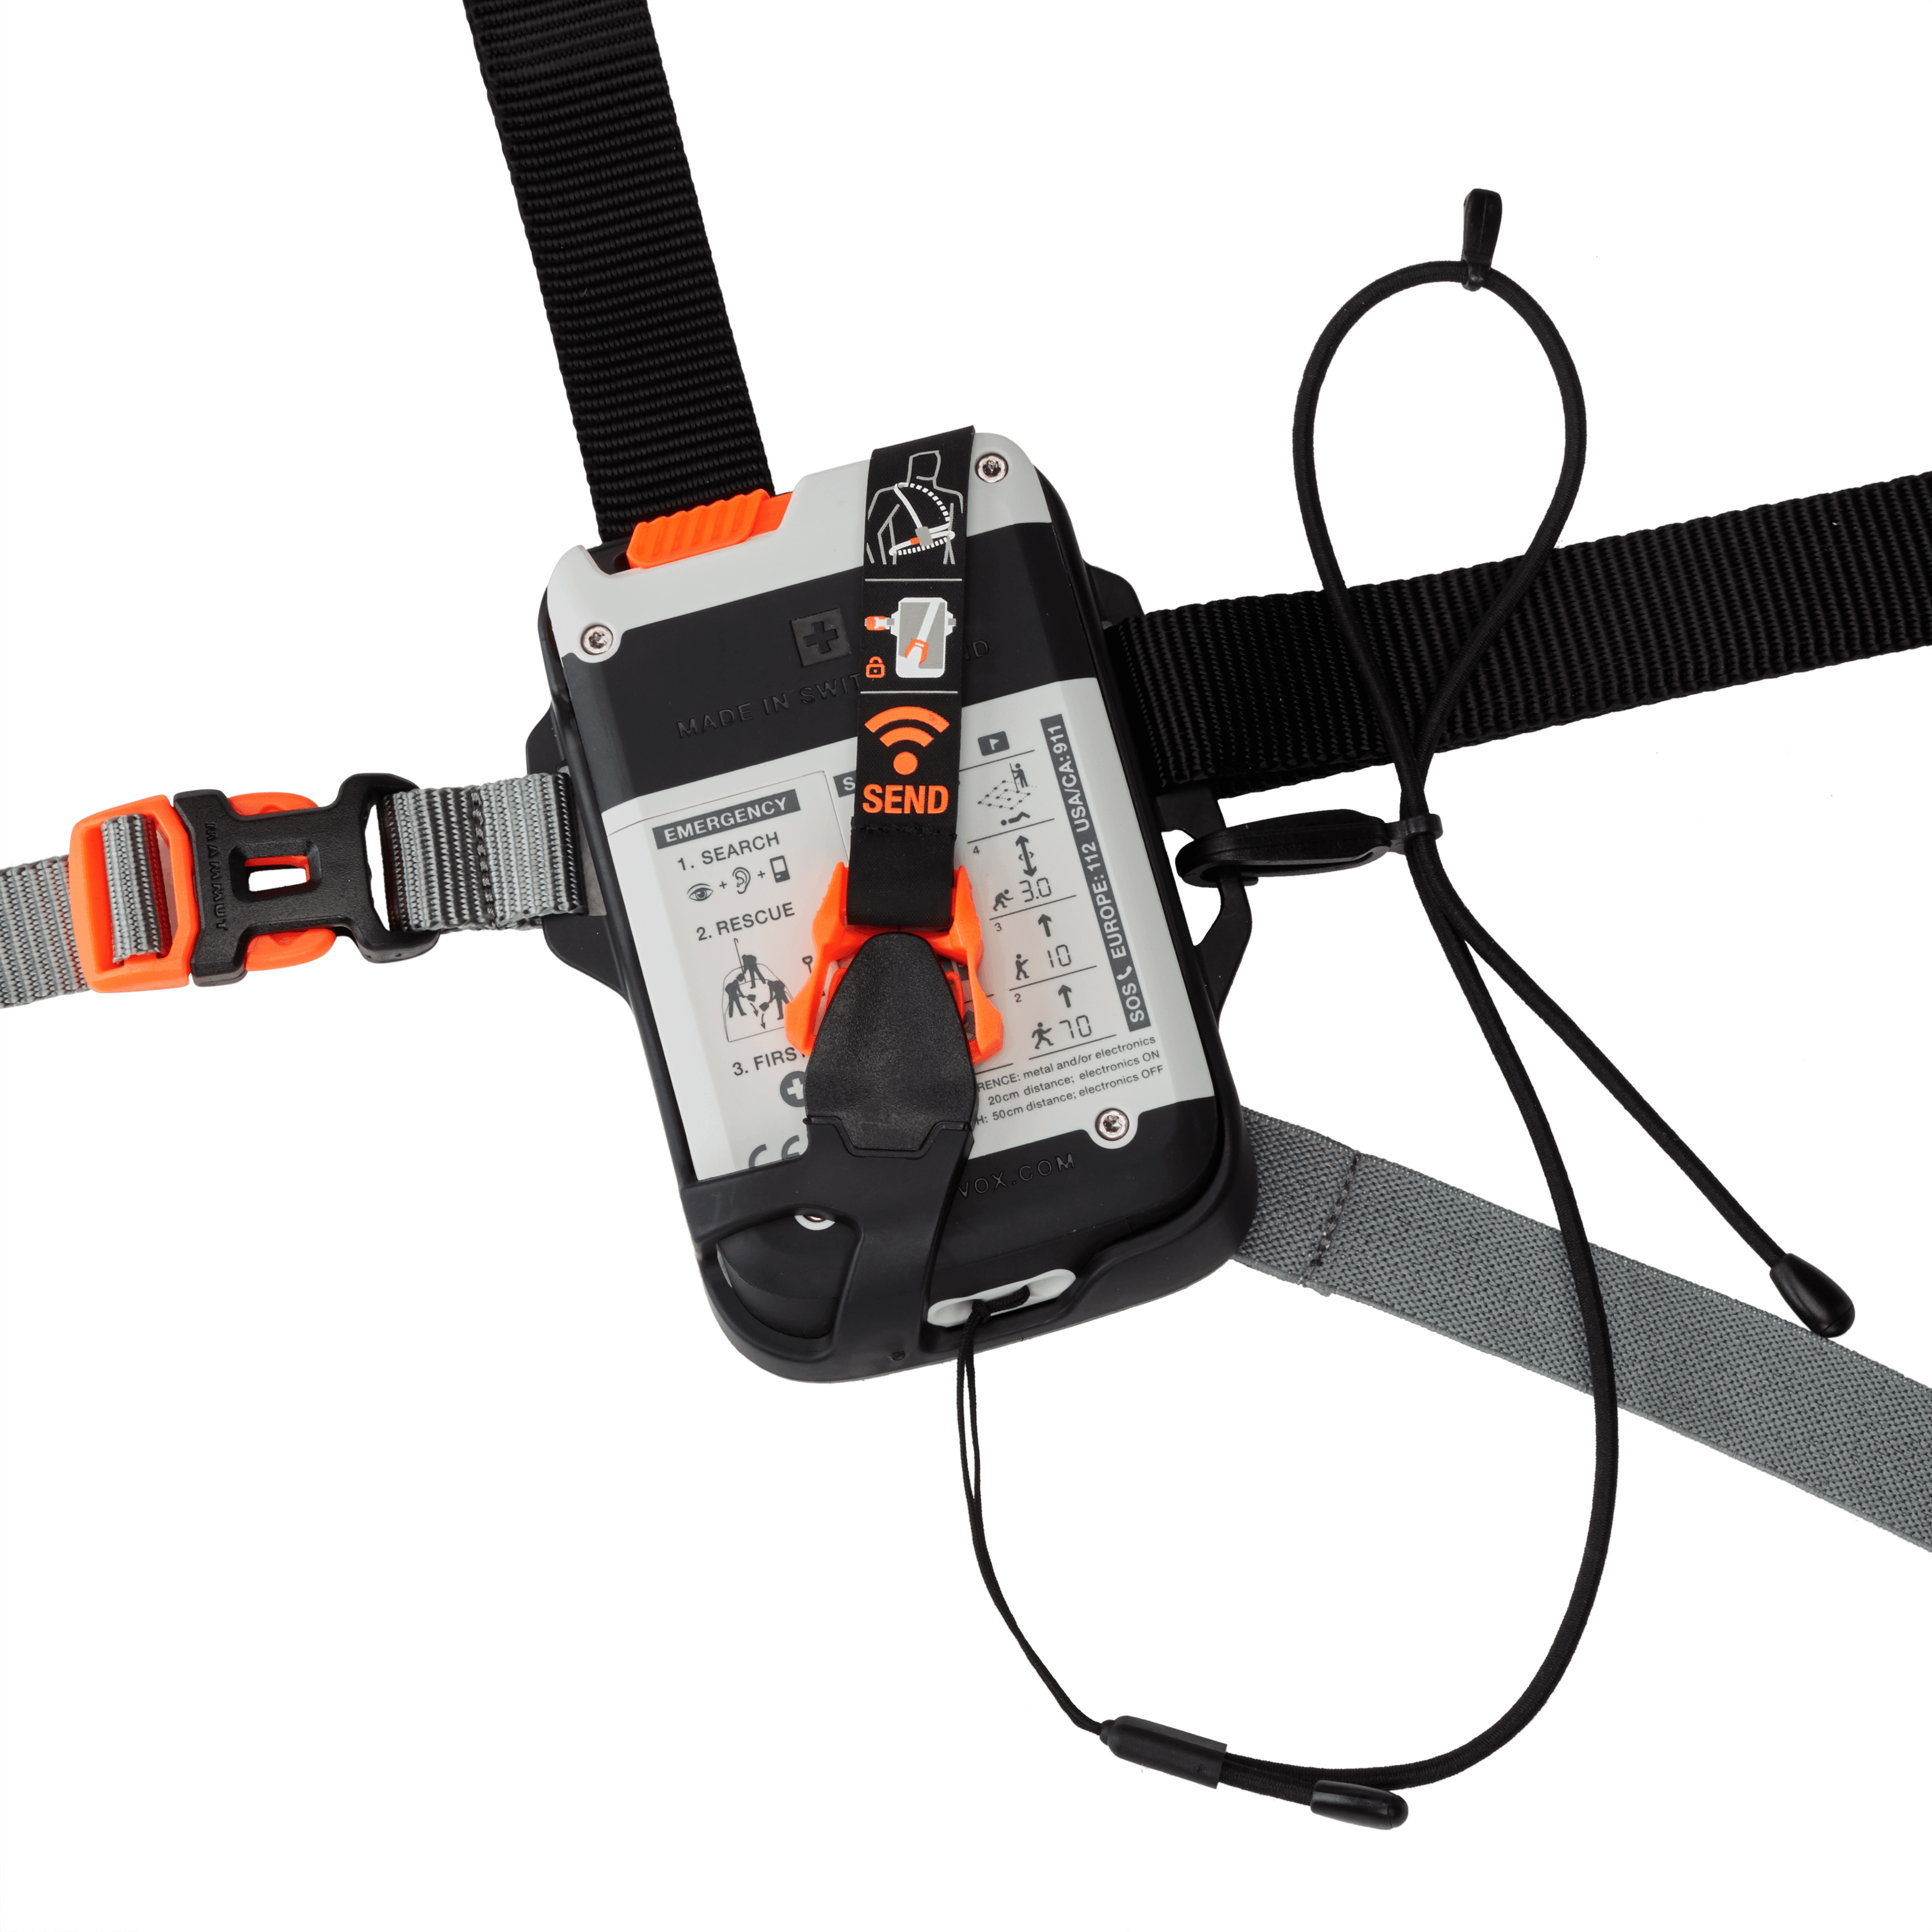
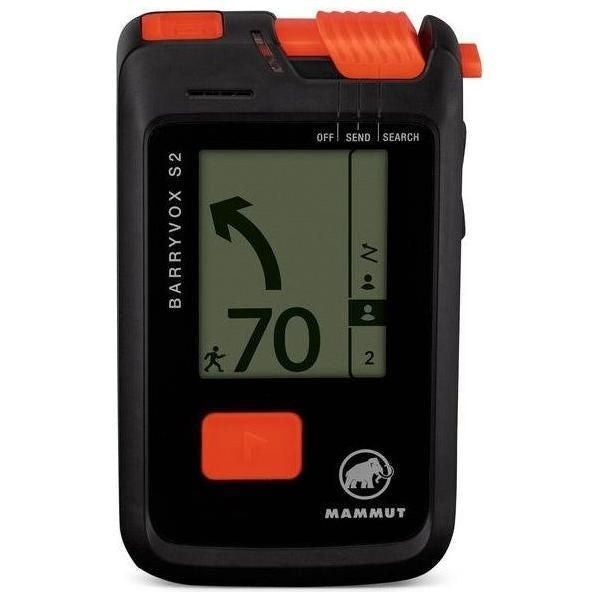
Beacons (also known as avalanche transceivers) are electronic devices that are designed to both send and receive radio frequencies. When you leave the trailhead, every skier will turn their beacon on and turn it to transmit/send. In the event of an avalanche burial, the other members of the party will switch their beacons to receive in order to locate the buried victim in the snow.
All beacons on the market today operate on the same frequency (457 kHz) so no matter which brand you or your ski partners have, they will all work interchangeably for both search and transmit. There are models that are made to be as simple as possible, models that offer both analog and digital modes, visual and audible signals, and the ability to isolate different transceivers in a multiple burial scenario. Regardless of which beacon you end up choosing, the most important thing is to feel comfortable operating your model and to PRACTICE, PRACTICE, PRACTICE! Expect your beacon to last for around five years. They work for far longer than that, but when your life depends on having something that functions properly, the industry standard is to replace your unit after no more than five years. When you end up with spare, older beacons, get together with your ski partners and use those for training. Take turns setting up burial scenarios and see how fast you can isolate and dig up multiple beacons!
Probes
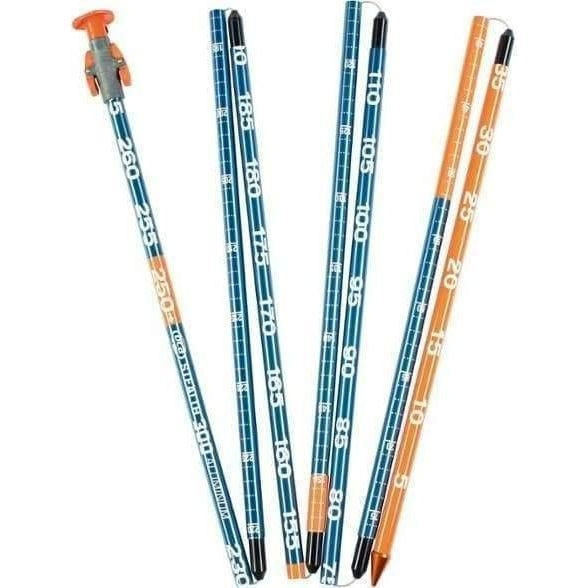
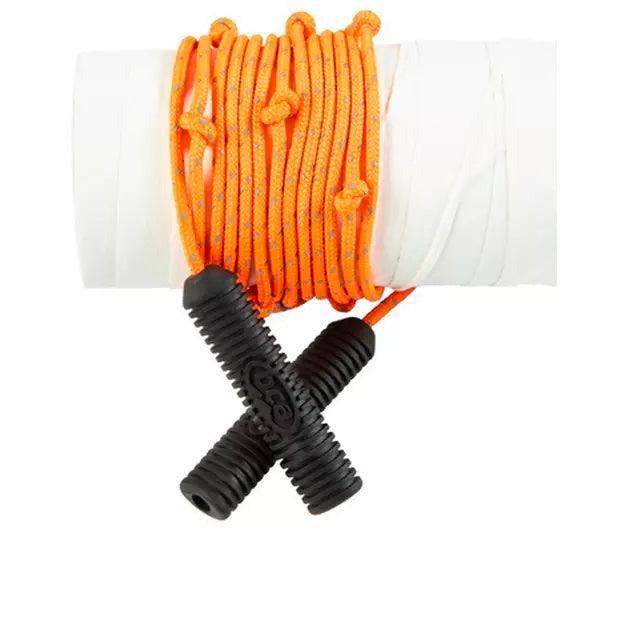
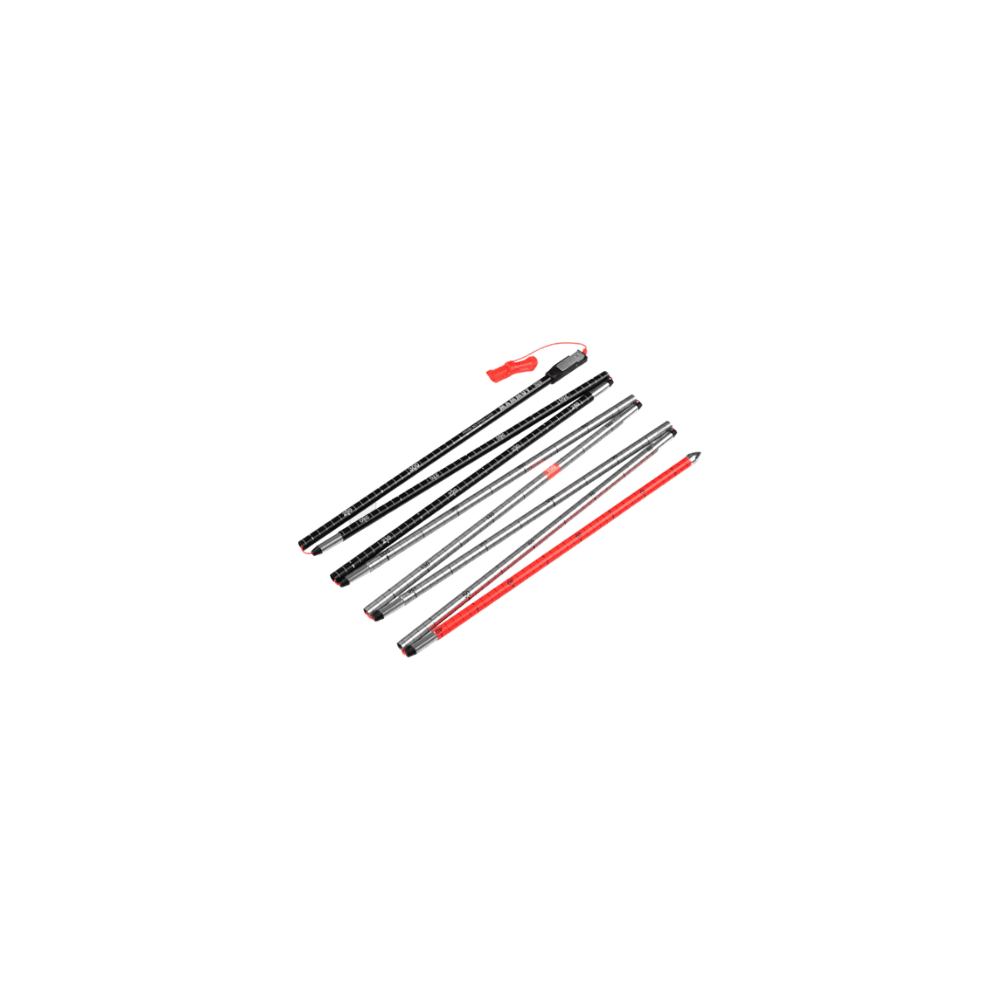
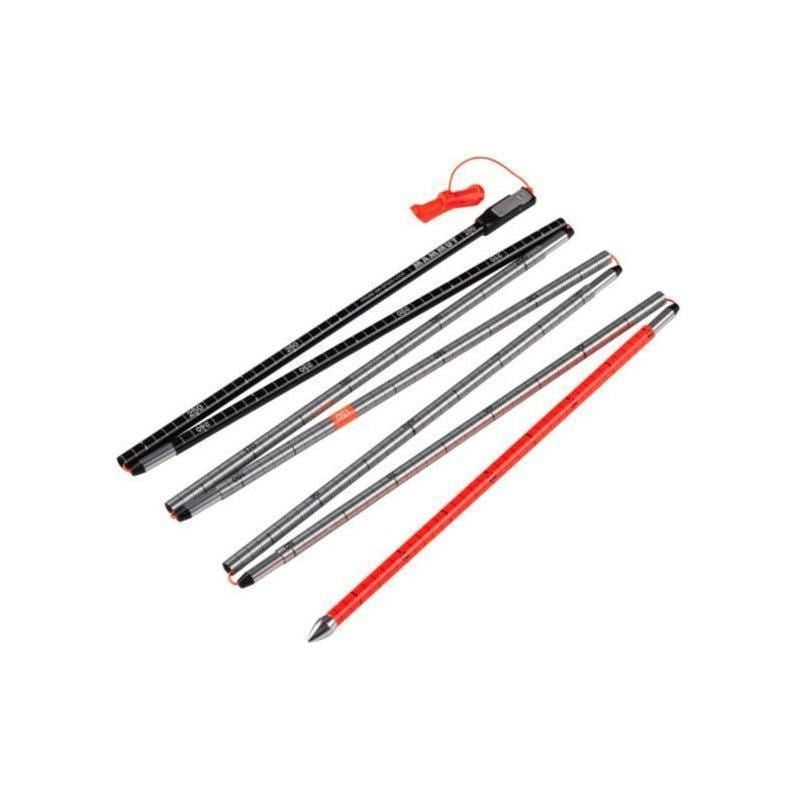
Once you locate the buried victim with your beacon, it is time to pinpoint their location with a probe strike. Probes are essentially long poles that are used to poke through the snow to find a buried body. Just like your tent pole, they are broken into segments attached by a cord and can be folded up and stored inside of your pack.
Probes are made of either aluminum or carbon and run from 6-10 feet long. Your choices will be based on weight, length and the locking mechanism that holds the probe taught when you extend it to full length. Carbon poles tend to be lighter but more expensive, and potentially more fragile. The length of your probe depends on your backcountry usage and the type of snowpack you are recreating in.
When you are in a search situation, you’ll pull the folded probe from your pack, hold on to the end, throw the sections away from you, and pull a cable to nest each of the sections together. As the sections come together, a proprietary mechanism will lock the probe into place. Test the probes out in the store and make sure it works in a way that you will be able to do with gloves on in an emergency.
Shovels
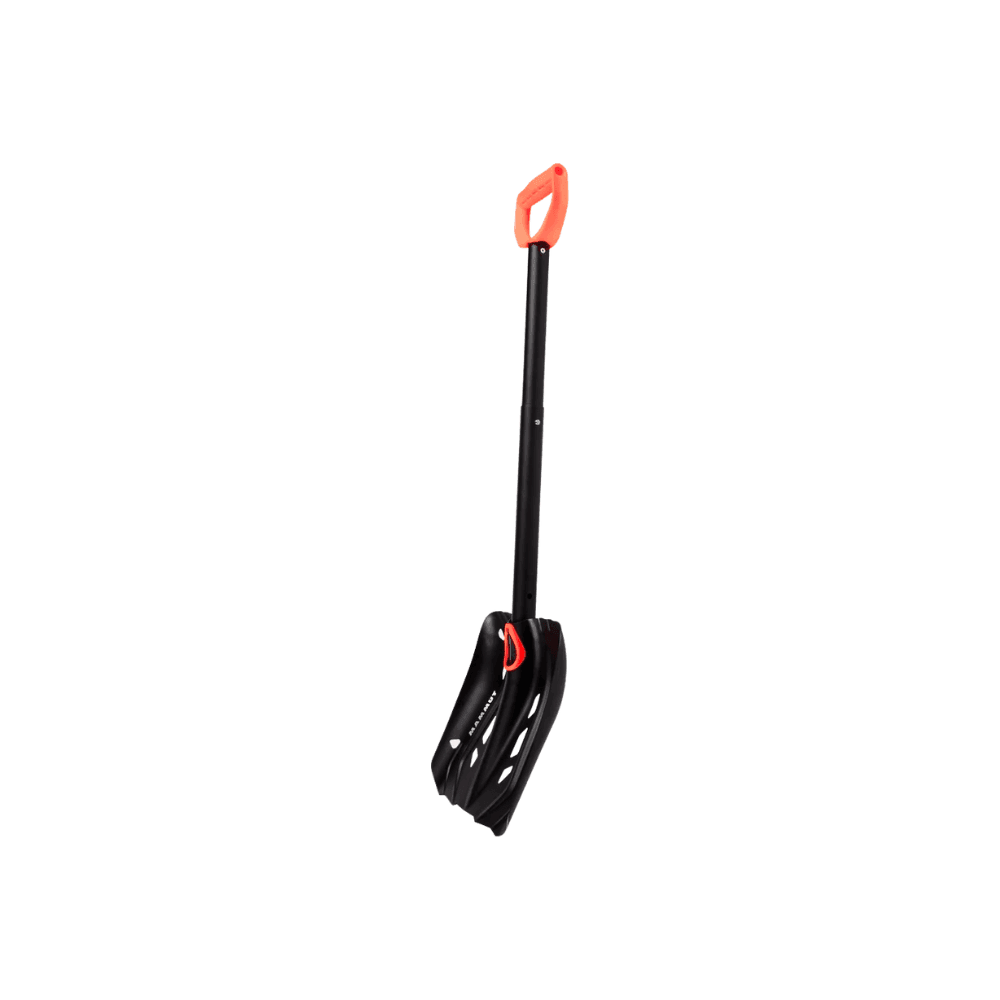
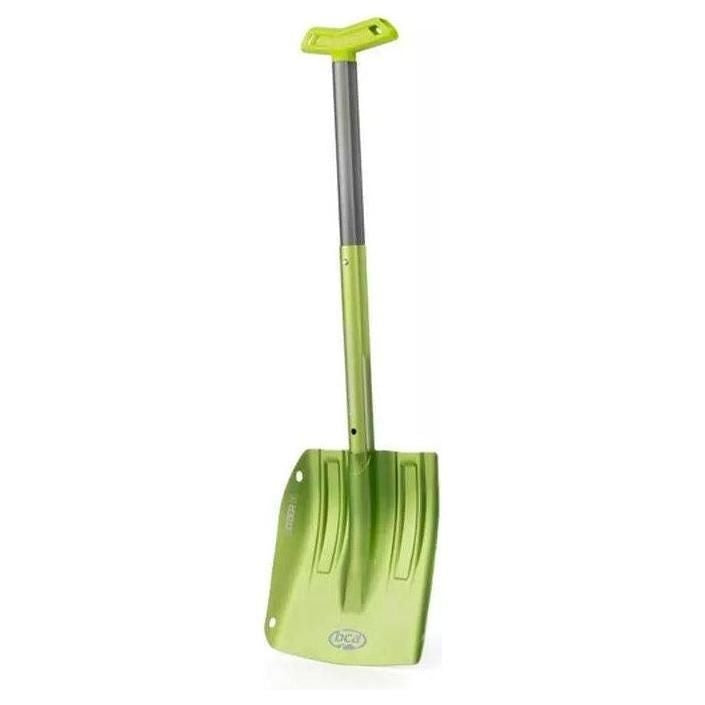
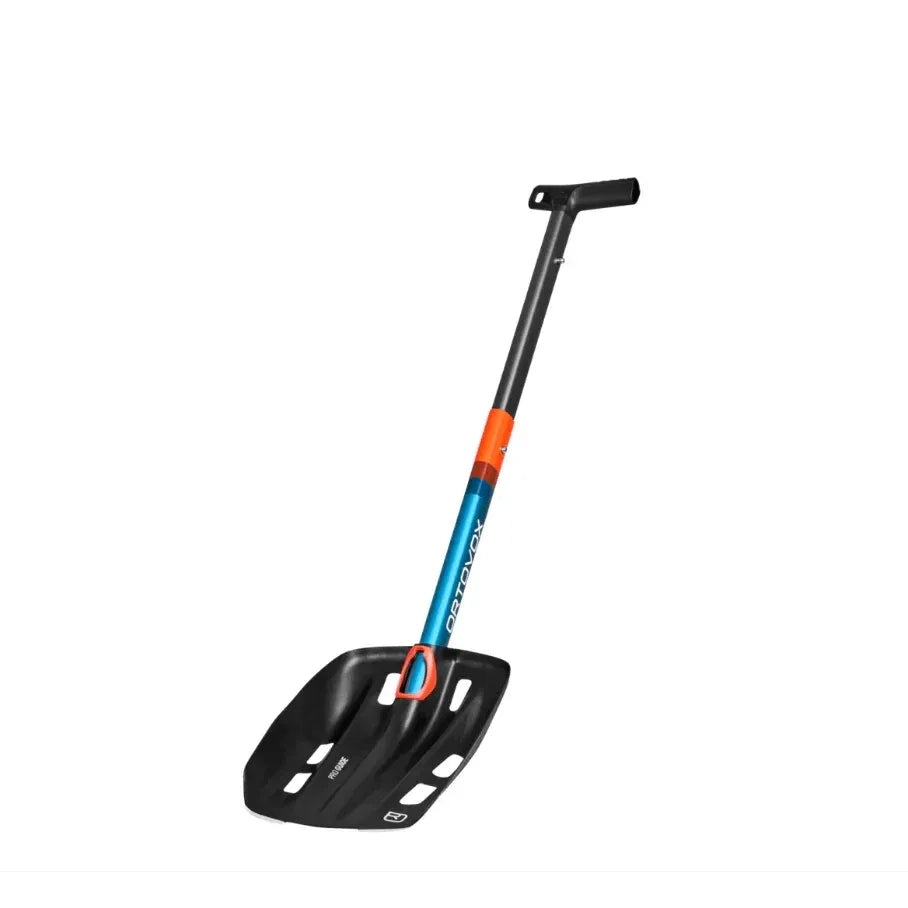
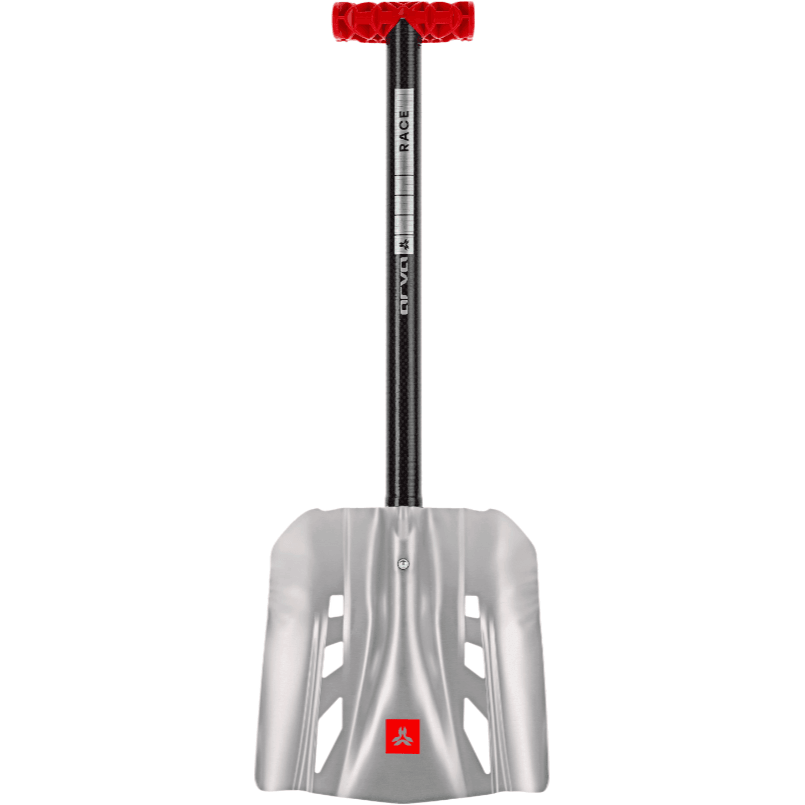
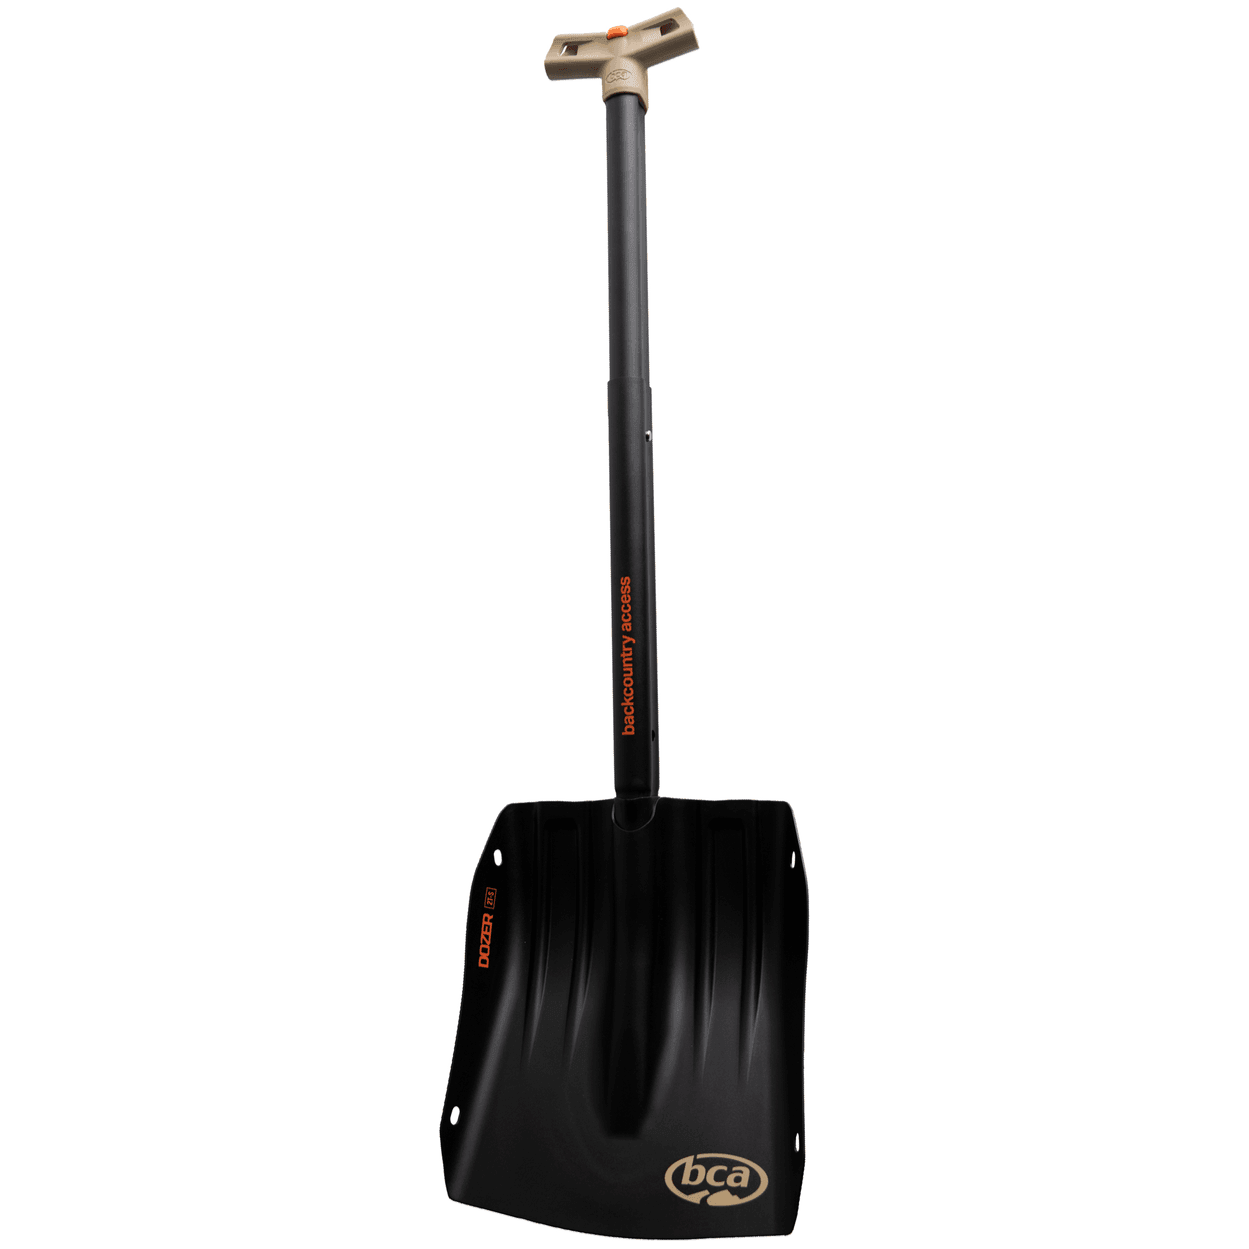
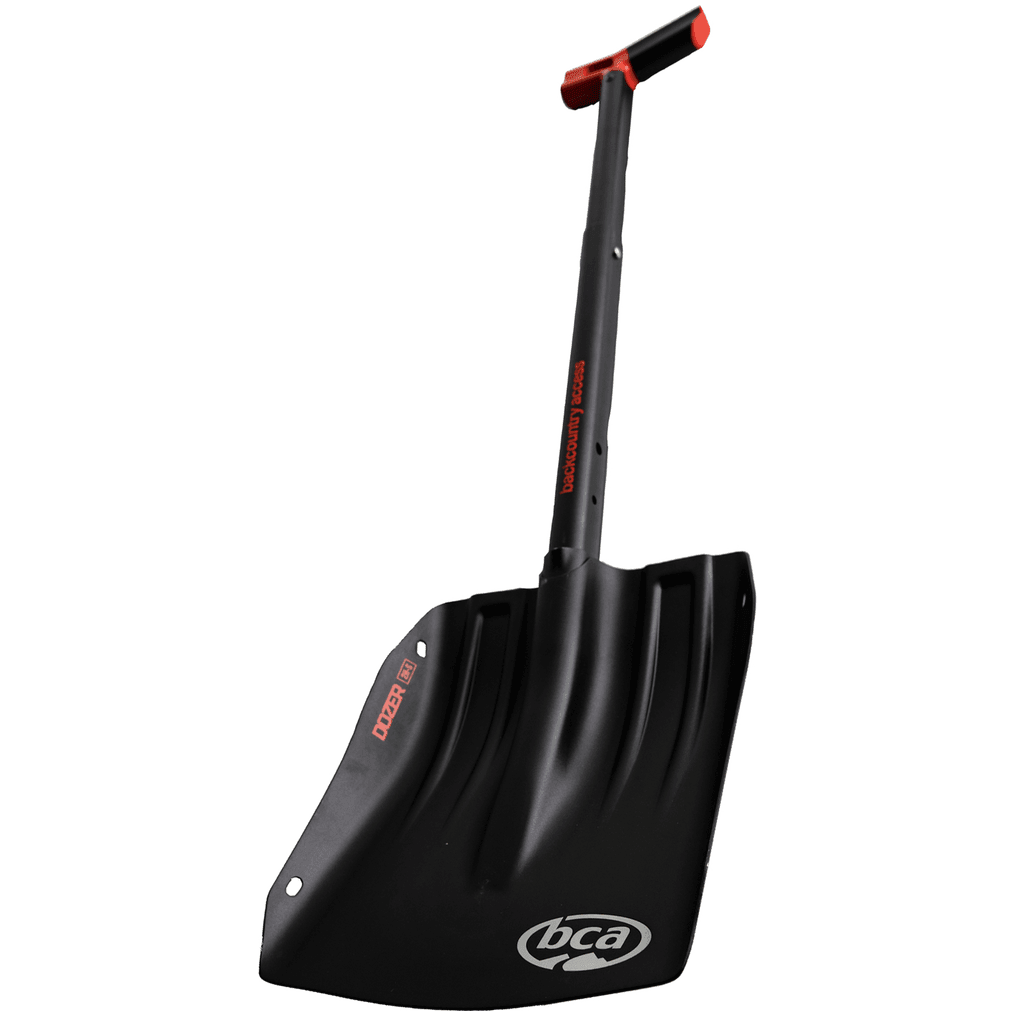
Once you’ve gotten your probe strike, there is no time to waste. It’s time to start digging for your partner. Avalanche shovels share similar designs, but are differentiated by cool features that make them even lighter and more feature-packed.
First off, unless you are putting together a race pack where you are unlikely to ever use your shovel, do NOT buy a plastic blade. If you have ever had to shovel your car out of a parking spot an hour after the snowplow blocked you in, you have some idea what avalanche debris will set up like: cement. More importantly, make sure your ski partners are all carrying shovels with metal blades. Your life may depend on it!
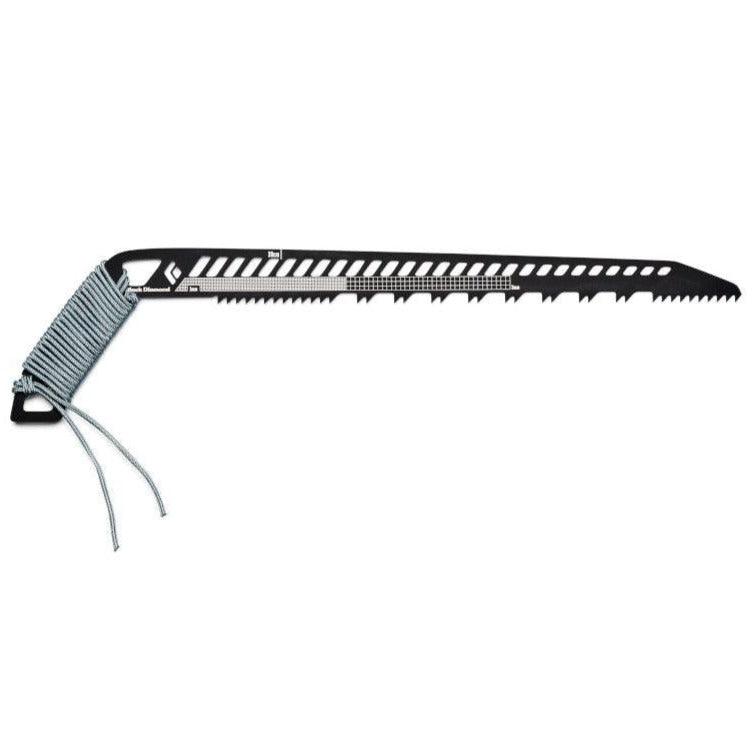
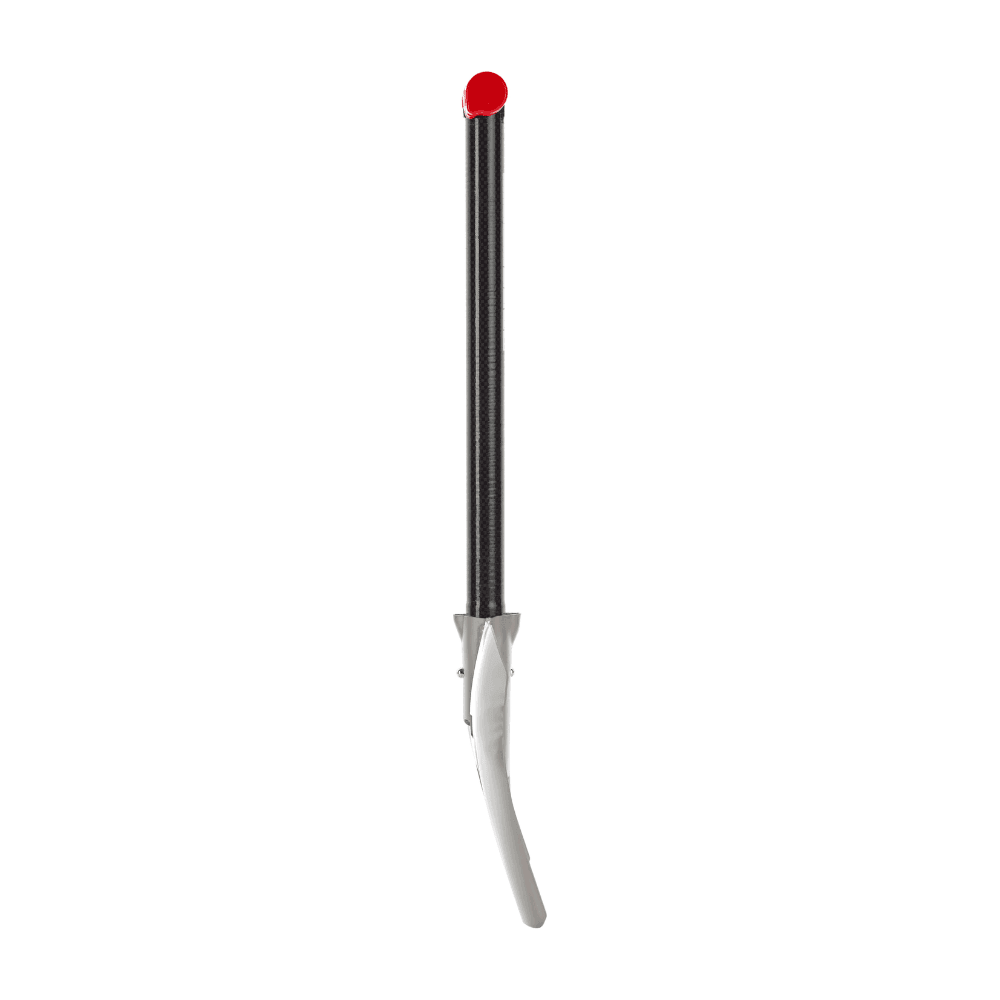
As far as shovel features, all will have removable handles, and some will have retractable/extendable handles. Within some of those handles, you may find snow saws, or avalanche probes. Some of the shovel handles flip over to create a hoe to move snow laterally rather than upward. And yet another converts from a shovel to a mountaineering axe by just carrying a single handle/shaft.
For your needs, make sure the shovel handle fits in your preferred backpack when it’s disassembled, and practice assembling the shovel to see that it goes together easily enough in your hands that you feel as though you could do it with cold, gloved hands in an emergency situation.
Satellite Communication
You’ve just been involved in an avalanche. You were able to locate the body with your beacon and probe and dig them out with your shovel. You’re miles from the car and miles from cell service. Now what?
If you are like a growing segment of the backcountry user population, you are carrying a form of satellite communication such as an Inreach or Spot. The current versions of these units allow for not only an SOS signal to be sent to emergency dispatch, they then provide for two-way text communication with your local sheriff’s department or rescue group. Expect to pay around $400 for the handheld unit and pay for a monthly subscription starting around $15.
Does everyone carry a radio and a satellite communicator? Definitely not. But we are seeing more and more users having the ability to call in rescues for fellow backcountry travelers. And with radios, there are many zones around North America that have designated and published public radio channels based on where you’re skiing so you can hypothetically call a fellow backcountry traveler to make sure you’re not dropping in on them or creating a more dangerous situation.
Overall, we love the remote nature and isolation of the backcountry. But the deeper we push into these far flung zones, and the more users that are sharing that limited acreage, the more likely we are going to benefit from local and long-range communication options.