

How to Dress for Ski-Touring
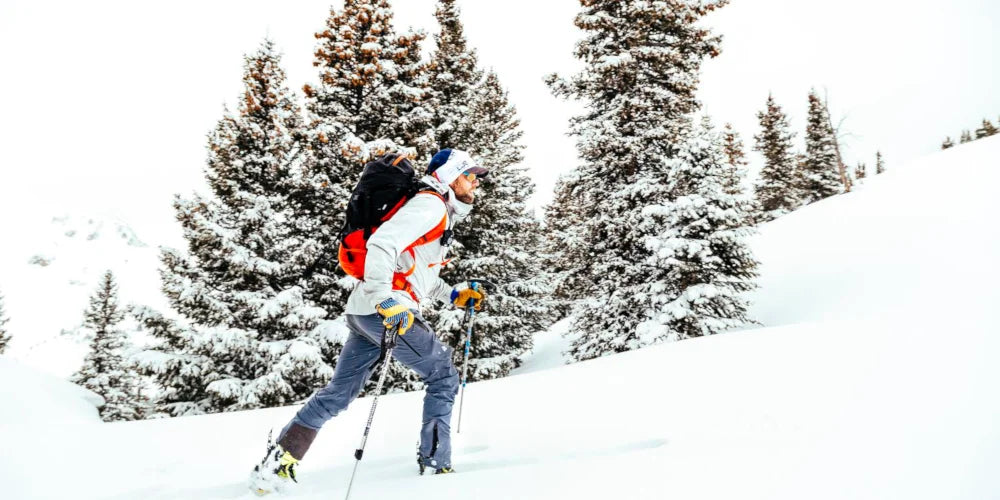
Whether you're headed uphill at your local resort for some in-bounds fitness or into the backcountry for a winter or spring ski tour, the goal is to stay comfortable by regulating your temperature. Overheating on the ascent is the nemesis of ski tourer's around the globe, as sweating on the uphill means re-freezing on the down. Fortunately for us, clothing technology has come a long way in the last few decades and with a bit of foresight and planning, we can stay comfortable all day long in the backcountry.

Sweat-wicking Base Layers
Whether you're ‘always cold' or generally tolerant of temperature fluctuations, the most important layer you can put on your body is one that pulls moisture away while retaining enough heat to keep you warm and your temperature regulated. In short, you want to be warm without getting wet. Whether you opt for a merino wool base layer or a synthetic blend, these new fiber options work wonders in staving off that cold and clammy feeling when you're wet and on your way to cold (and eventually hypothermic if you're not careful).
From short and long-sleeve base shirts and full or ¾ length base bottoms, avoid cotton and instead, choose a fast-drying and wicking material that moves moisture (and cold) away and keeps heat in.
We love the North Face Light Crew for a base layer.
Technical Layering
You've made good choices in your base layers, opting for quick-drying merino or synthetics. So what goes over that? Well, what is the weather doing... Is it extremely hot? Excessively cold? Is it snowing? Will it be raining down low (or all day)? Will it start cold and end hot? What if we will experience all of these on the same day?
Insulated.. or not?
Many folks start out their ski touring career skinning in their resort gear: insulated pants, insulated jackets, multiple base layers, a thick hat, etc. Just like we are moving towards lighter gear on our feet and our backs in the backcountry, the same goes for the clothing on our bodies! You'll see an immediate difference in your exertion when you're not overdressed, too.
Uninsulated is the keyword for outer layers. Technical names like GoreTex, FutureLight, NeoShell, and BDdry will be featured in these pieces. These items will repel wind and moisture extremely well and allow your excess body heat to pass outward, leaving you warm and dry, no matter the weather outside. This is similar to what you want to wear when riding lifts, but the big difference comes when sitting still. When you're on the lift, wind blowing, snow flying, you'll need more insulated mid-layers to keep yourself warm during those idle minutes.
We swear by the North Face Powergrid Hoodie or North Face L2 Fleece Hoodie as an ultra-breathable mid-layer.
Resort Fitness
For a midwinter fitness uphilling mission, we likely start with fewer layers and carry warmer items in our pack. Unless you're training for a race and want to test out your newest lycra skinsuit, you'll probably be wearing a low profile, uninsulated hard or soft shell pant with zippered vents. Something that fits easily over your touring boots, allowing for easy access to your walk/ski mode for the transition at the top. For your upper body, you'll likely be looking for at least a ventable, breathable wind shell to keep the chill off while allowing your body heat to move through and away from your body, some thin gloves (possibly windproof), and a light hat with an optional neck gaiter.
Sometimes there's no way to avoid sweating, but ultimately, your goal is to keep enough ventilation and breathability to keep sweat to a minimum. If it's really cold, you'll want that neck gaiter and maybe the hood from your jacket. And bring a dry hat for the trip back down the hill. For the one-up-one-down fitness workout, you can afford to sweat a little bit on the way up as long as you have replacement layers for the down. Perhaps a puffy jacket to go under your windshell? Switch from thin uphilling gloves to your usual insulated downhill gloves. Or just suck it up and let those teeth chatter on the descent, as you know your car or the base lodge is just a few minutes away!
If not in a spandex race suit, we are rocking soft-shell pants like the Dynafit PDG.
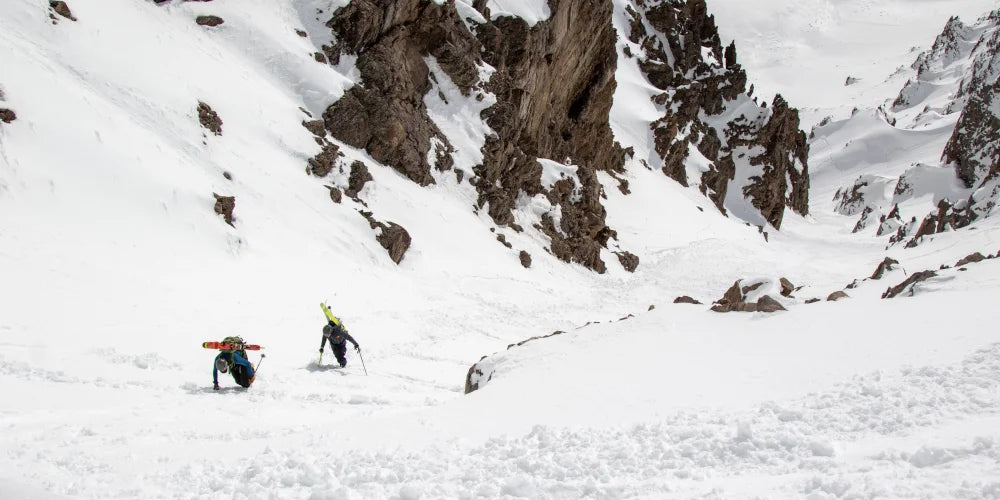
Backcountry Ski-Touring
Ski touring in the backcountry is a different animal altogether. You will need a larger pack that allows you to carry more items. Those items could not only come in handy for your comfort, but in the case of an unexpected change in the weather or a delay in your return to the trailhead- they can save your life. In general, the ski tour is a more leisurely pursuit than the workout. You can keep your exertion to a level that keeps you from sweating, which will pay off when you hit the ridgeline and the wind is howling.
Other Considerations
Base and technical layering will make up most of your ski touring clothing system, but here are other things to consider for your next outing in the mountains.
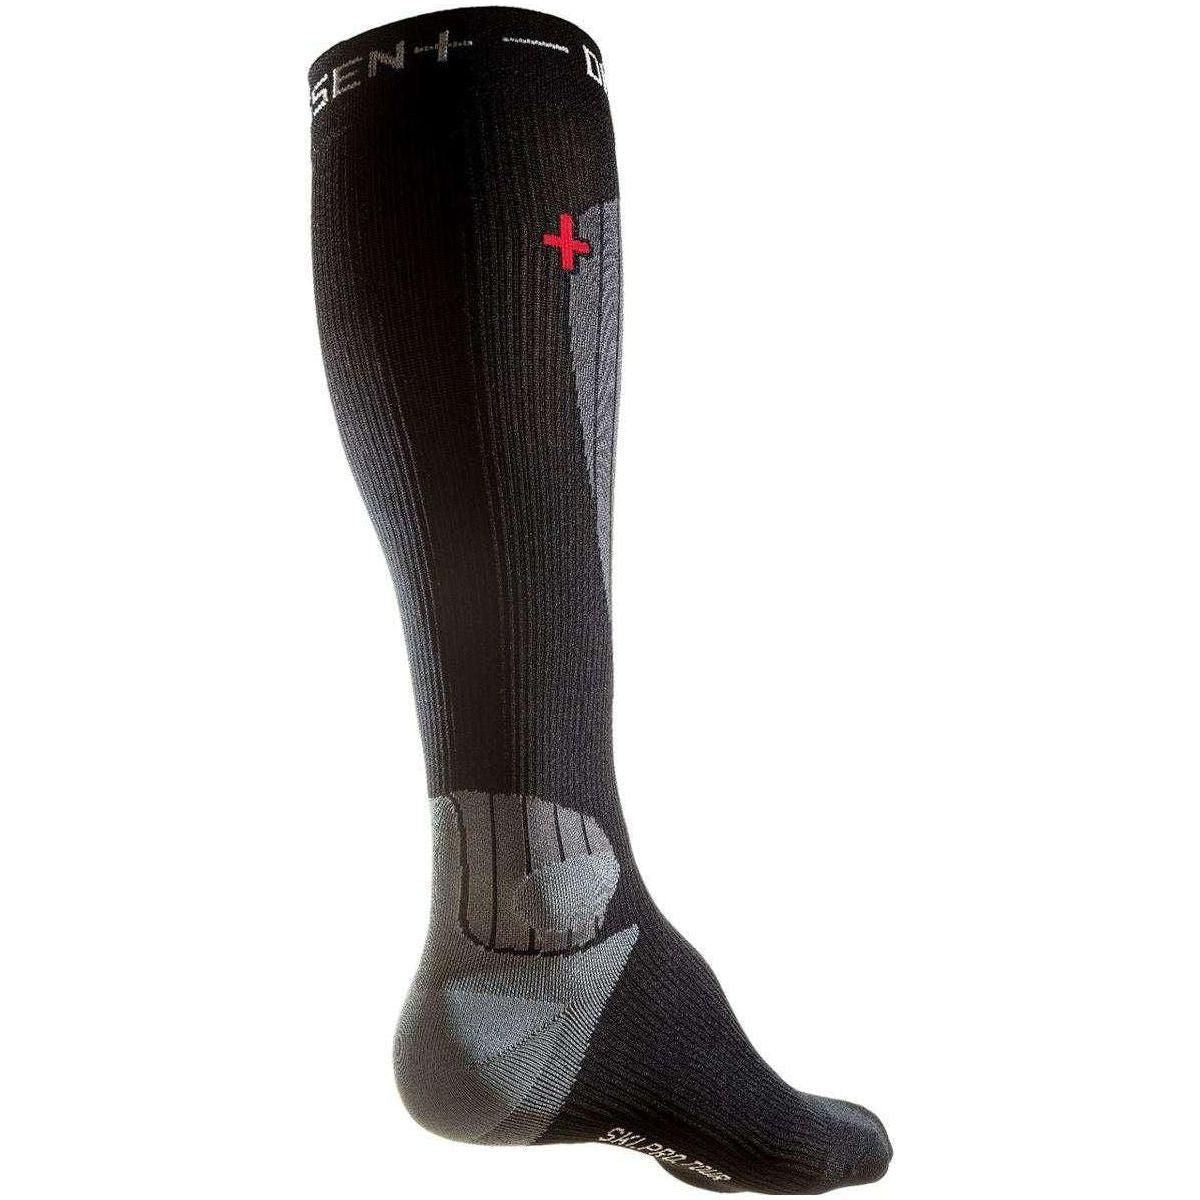
Warm Feet = Happy Skier
Like your base layer, your socks should be of a sweat-wicking material and the thinner, the better. If you have yet to hear it, here it is: thick socks don't keep your feet warm in ski boots. Ultimately, they will create more pressure, reduce circulation, and make your feet colder. Instead, opt for very thin socks and rely on the generous insulation of your ski boot liner to keep you warm. If you always get cold feet, ensure an experienced boot fitter dials in your boots. Beyond that, there are both heated footbeds and heated socks to keep you from losing sensation in your toes. While discussing socks, carry an extra pair in your touring pack. You never know when you need a clean, dry pair to keep your feet feeling fresh and comfortable.
Your feet will thank you for being in a pair of Dissent Socks.
Get Buffed
One newer addition to many backcountry wardrobes is the neck gaiter or ‘buff’. This is a fabric tube that is open at the top and bottom and slipped over the head to wear like the neck of a turtleneck. The benefit is that you can pull it up over the back of your ballcap if the wind picks up on the ridge, use it as sun protection on a particularly bluebird day, or just use it as that extra layer when it's cold in the morning. Then it's easily removed on the skin track and stuffed in a pocket without stopping to take off your pack. It's remarkable how much heat one of these units will retain when you need that extra warmth or coverage!
Although not everyone wears a helmet in-bounds, with a reported 80% of skiers and boarders wearing them for lift-served pursuits, they have become more the norm than the exception. Helmets are also required for ski racing of all types, in or out of bounds. But what about in the backcountry?
We wear helmets in the backcountry not just to protect our noggin in the event of a fall but also for rockfall, tree branches, falling ice, and even to mount the all-important POV camera.
Some skiers choose to wear their climbing helmets. They are ultra-lightweight. You strap it on your pack for the approach, put it on your head for the booter, keep it on for the descent, and put it back on your pack for the long ski out. There is an argument that they don't offer enough protection in case of a legitimate fall or impact, so we will let you decide for yourself.
If you're racing, you'll need a ‘dual-certified’ helmet that meets IMSF specifications for both climbing and skiing. That excludes some of the climbing helmets that many backcountry skiers have been wearing for years. But if you're not racing and are mainly concerned with rock fall and errant tree branches, a climbing helmet may be your best bet, especially if you refuse to carry a full-featured helmet because of the added weight.
Ultimately, we will each decide on the value of a helmet for a low-angle powder skiing mission, a midwinter tree-filled chute, or a spring couloir axe & crampon ascent. Because wearing some type of helmet is better than nothing, and there is nothing that will save you in every situation. So opt for whatever you're likely to bring with you, not what you'll ultimately leave in your gear room.
For spring missions, we love the Camp Speed Comp Helmet

Final Thoughts
While temperature regulation and layering is an extremely personal and specific art, science has brought us to a point where we can confidently send you out the door with a few layers in your pack and know that you'll have what you need for almost any day in the mountains. While one skier prefers to keep a fleece layer under her outer shell, another might run a Merino t-shirt in the same conditions. The key is to have just one more layer than you may need in your pack for those dramatic changes in the weather or an actual emergency that keeps you out in the elements for far longer than you expected. Don't be afraid to throw an emergency or space blanket in your touring kit, too, just to be safe!
EXAMPLE:
Midwinter Backcountry Backcountry Layering List
Base Layer
- Merino ¾ leggings (no excess fabric to bunch up inside of your ski boots)
- Merino t-shirt
- Merino long-sleeve shirt
- Merino ultralight ski socks
Mid Layer
- Thin, hooded fleece zip sweatshirt
- Ultralight neck gaiter
- Thin gloves for moderate weather, midweight gloves with windproofing for colder weather
Outer Layer
- Technical shell pants with zippered vents
- Technical shell jacket with helmet-compatible hood and zippered vents
In The Pack
- Puffy jacket
- Warm, insulated gloves or mittens
- Small, packable vest for extra insulation if needed
- Emergency space blanket for unexpected time in the elements
Sometimes you're skinning, and it’s cold enough to wear everything in your pack. But better to have it and not need it than the other way around… within reason, of course! As you grow your ski touring skillset, we hope you consider the value of these technically-designed items and how, like lighter touring gear, you can make your days in the backcountry both longer and more enjoyable, no matter the weather!