How Much Should I Pay For a Ski-Touring Setup?
Tips and tricks on when to save money and when to spend it
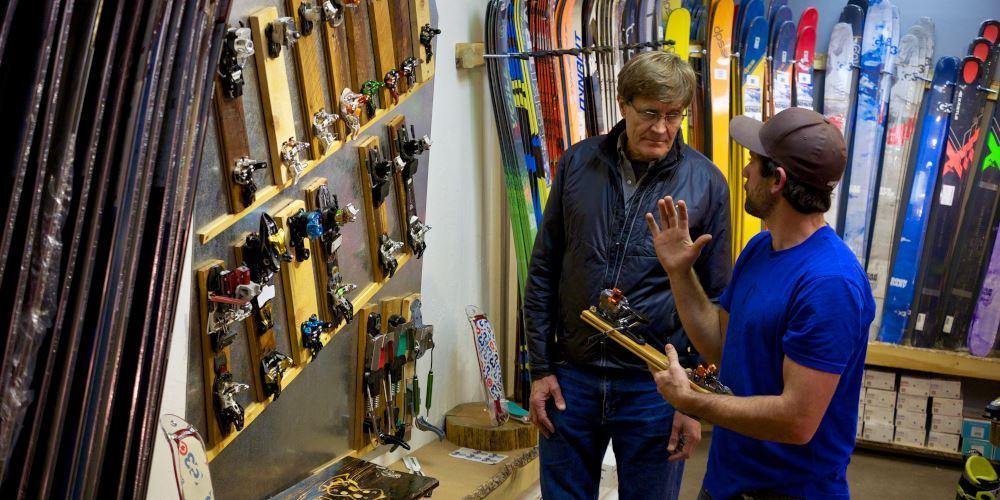
To get into your perfect first ski touring setup, you should expect to pay $2000-$2500. If you have that kind of scratch you should do it! It will save you remounts, wasted climbing skins, and even money in the long run. But since that is a lot of loot below are some tips for what to look out for if you're buying used ski-touring gear!
At Cripple Creek and most small shops, you can save money on all new gear just by buying it as a package. This can save you anywhere from $200-$500 off a setup. In addition you save an extra $100 when the heat mold and ski mount are included.
Check out our website for staff picked packages where you can save even more!
Ski Touring Boots

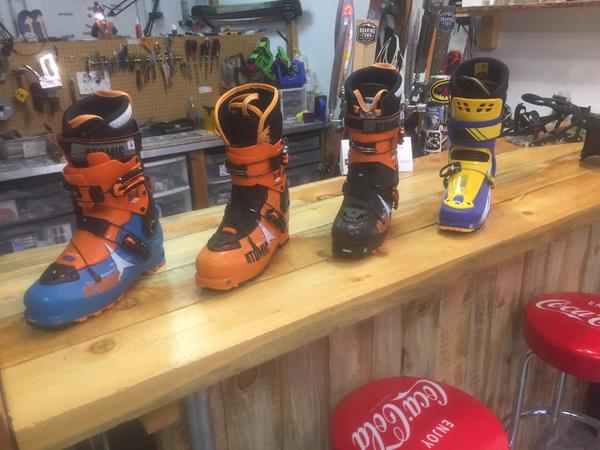
Ski touring boots are the first thing to consider. A new touring boot will typically cost you in the range of $500-$1000 depending on the technology and materials used, and it is worth every penny. Touring boots differ from alpine boots in that they feature a lightweight construction and the ability to ‘articulate’, allowing you to walk (and skin uphill) infinitely easier. It is possible to tour in an alpine boot, you just won’t like the sport very much. We highly recommend buying a new touring specific boot that has been sized appropriately and matches your touring intention. We have some great deals on closeout boots, but don't sacrifice comfort for savings!
Things to consider when buying used boots
If you opt for a used boot, you should expect to have to replace the liner. A new intuition liner costs $200 and should be replaced around every 80-100 days of touring. Although a used boot can be remolded, this also breaks the liner down faster. Budget in a $40 heat mold and keep in mind that punching or expanding a boot can add up. When you're looking at a used boot, check buckles and the walk mode for play and wear. Make sure the boot fits like it should! Check out our blog post “How an AT Boot Should Fit” for a detailed explanation on the difference between how a tech boot and an alpine boot should fit.
Ski Touring Bindings

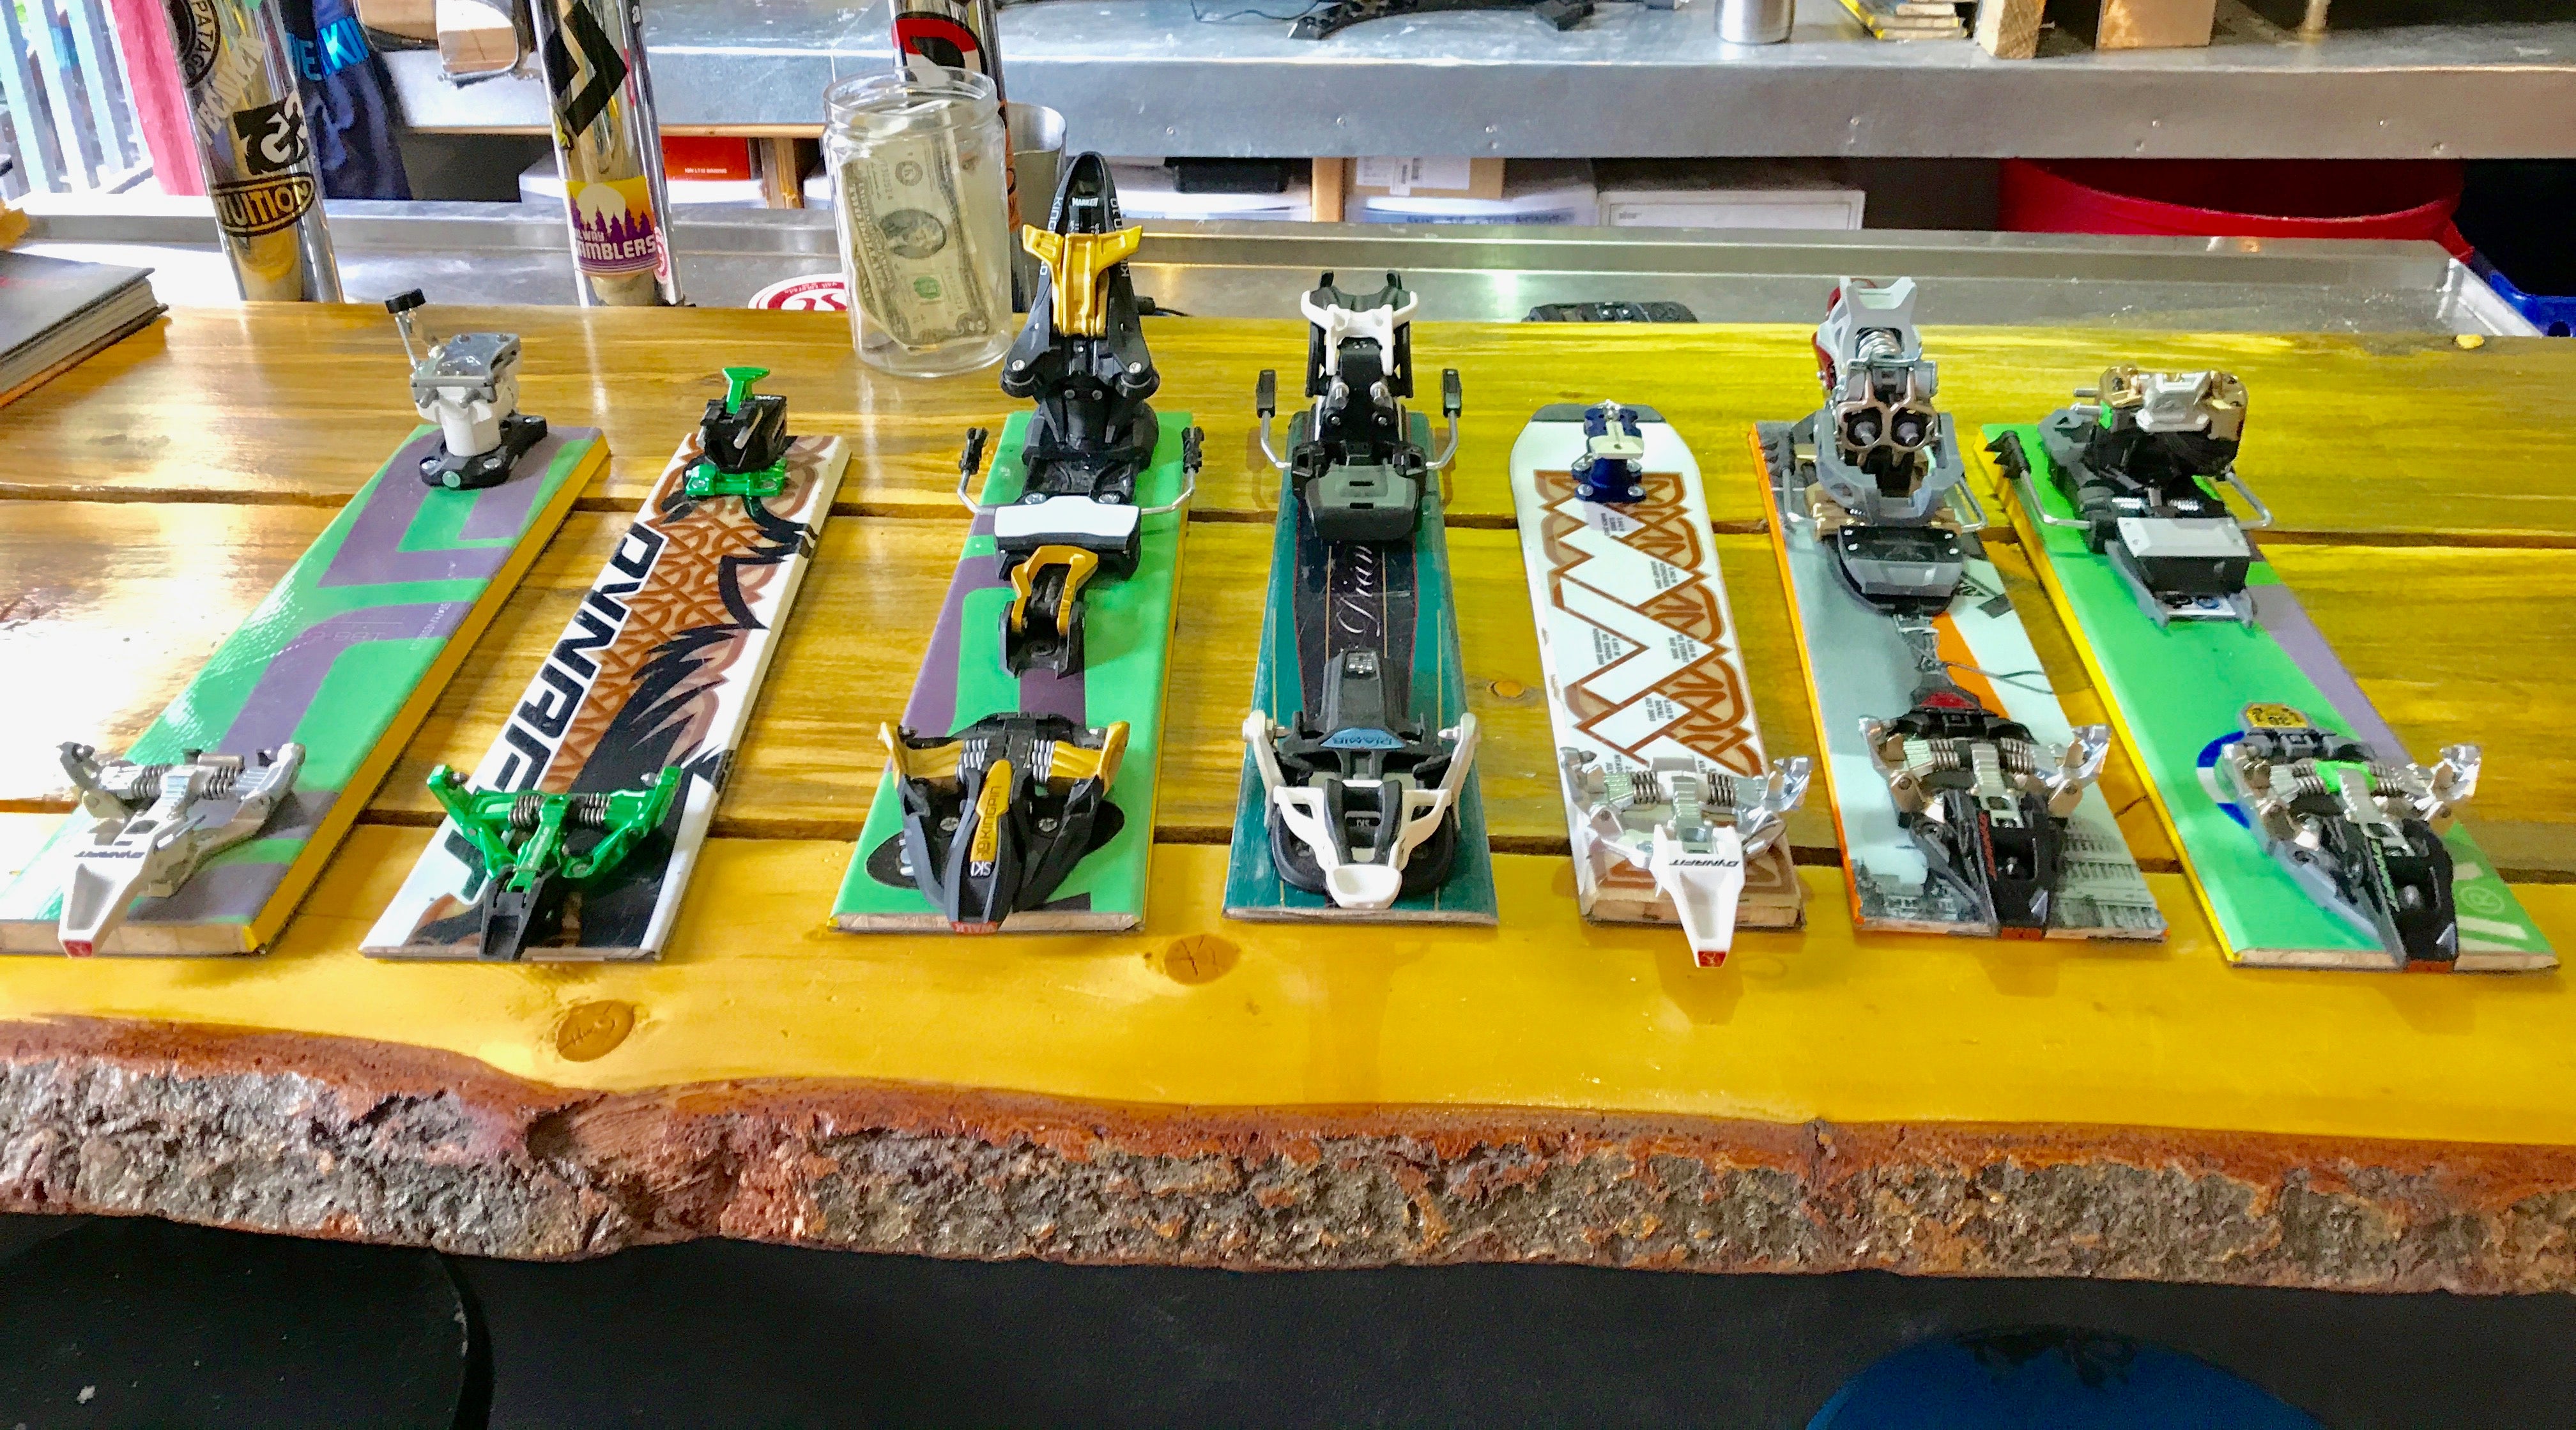
Commonly referred to as ‘pin’ or ‘tech’ bindings, modern touring binding technology is significantly more efficient than a ‘frame’ style binding. Tech bindings are lighter, better to walk in, and offer superior ski performance. With tech bindings, your boot pivots on the toes, which means you are only picking up the weight of your boot every stride. This enhances the efficiency of your stride because the entire weight of your ski stays on the ground when touring uphill. Gone are the days of pre-releases and hip-flexer burning touring setups. Expect to pay in the range of $300-$600 for a new touring binding, with lighter, more ‘techy bindings’ at the higher end of that range.
Things to look out for when buying used
If you are buying a used binding, you should really trust whoever you are getting it from. There can be micro cracks in the plastic from hard falls that are impossible to see even with a trained eye. Buy your binding new and reduce the chances of warranty or replacement, and the associated costs.
Touring Skis

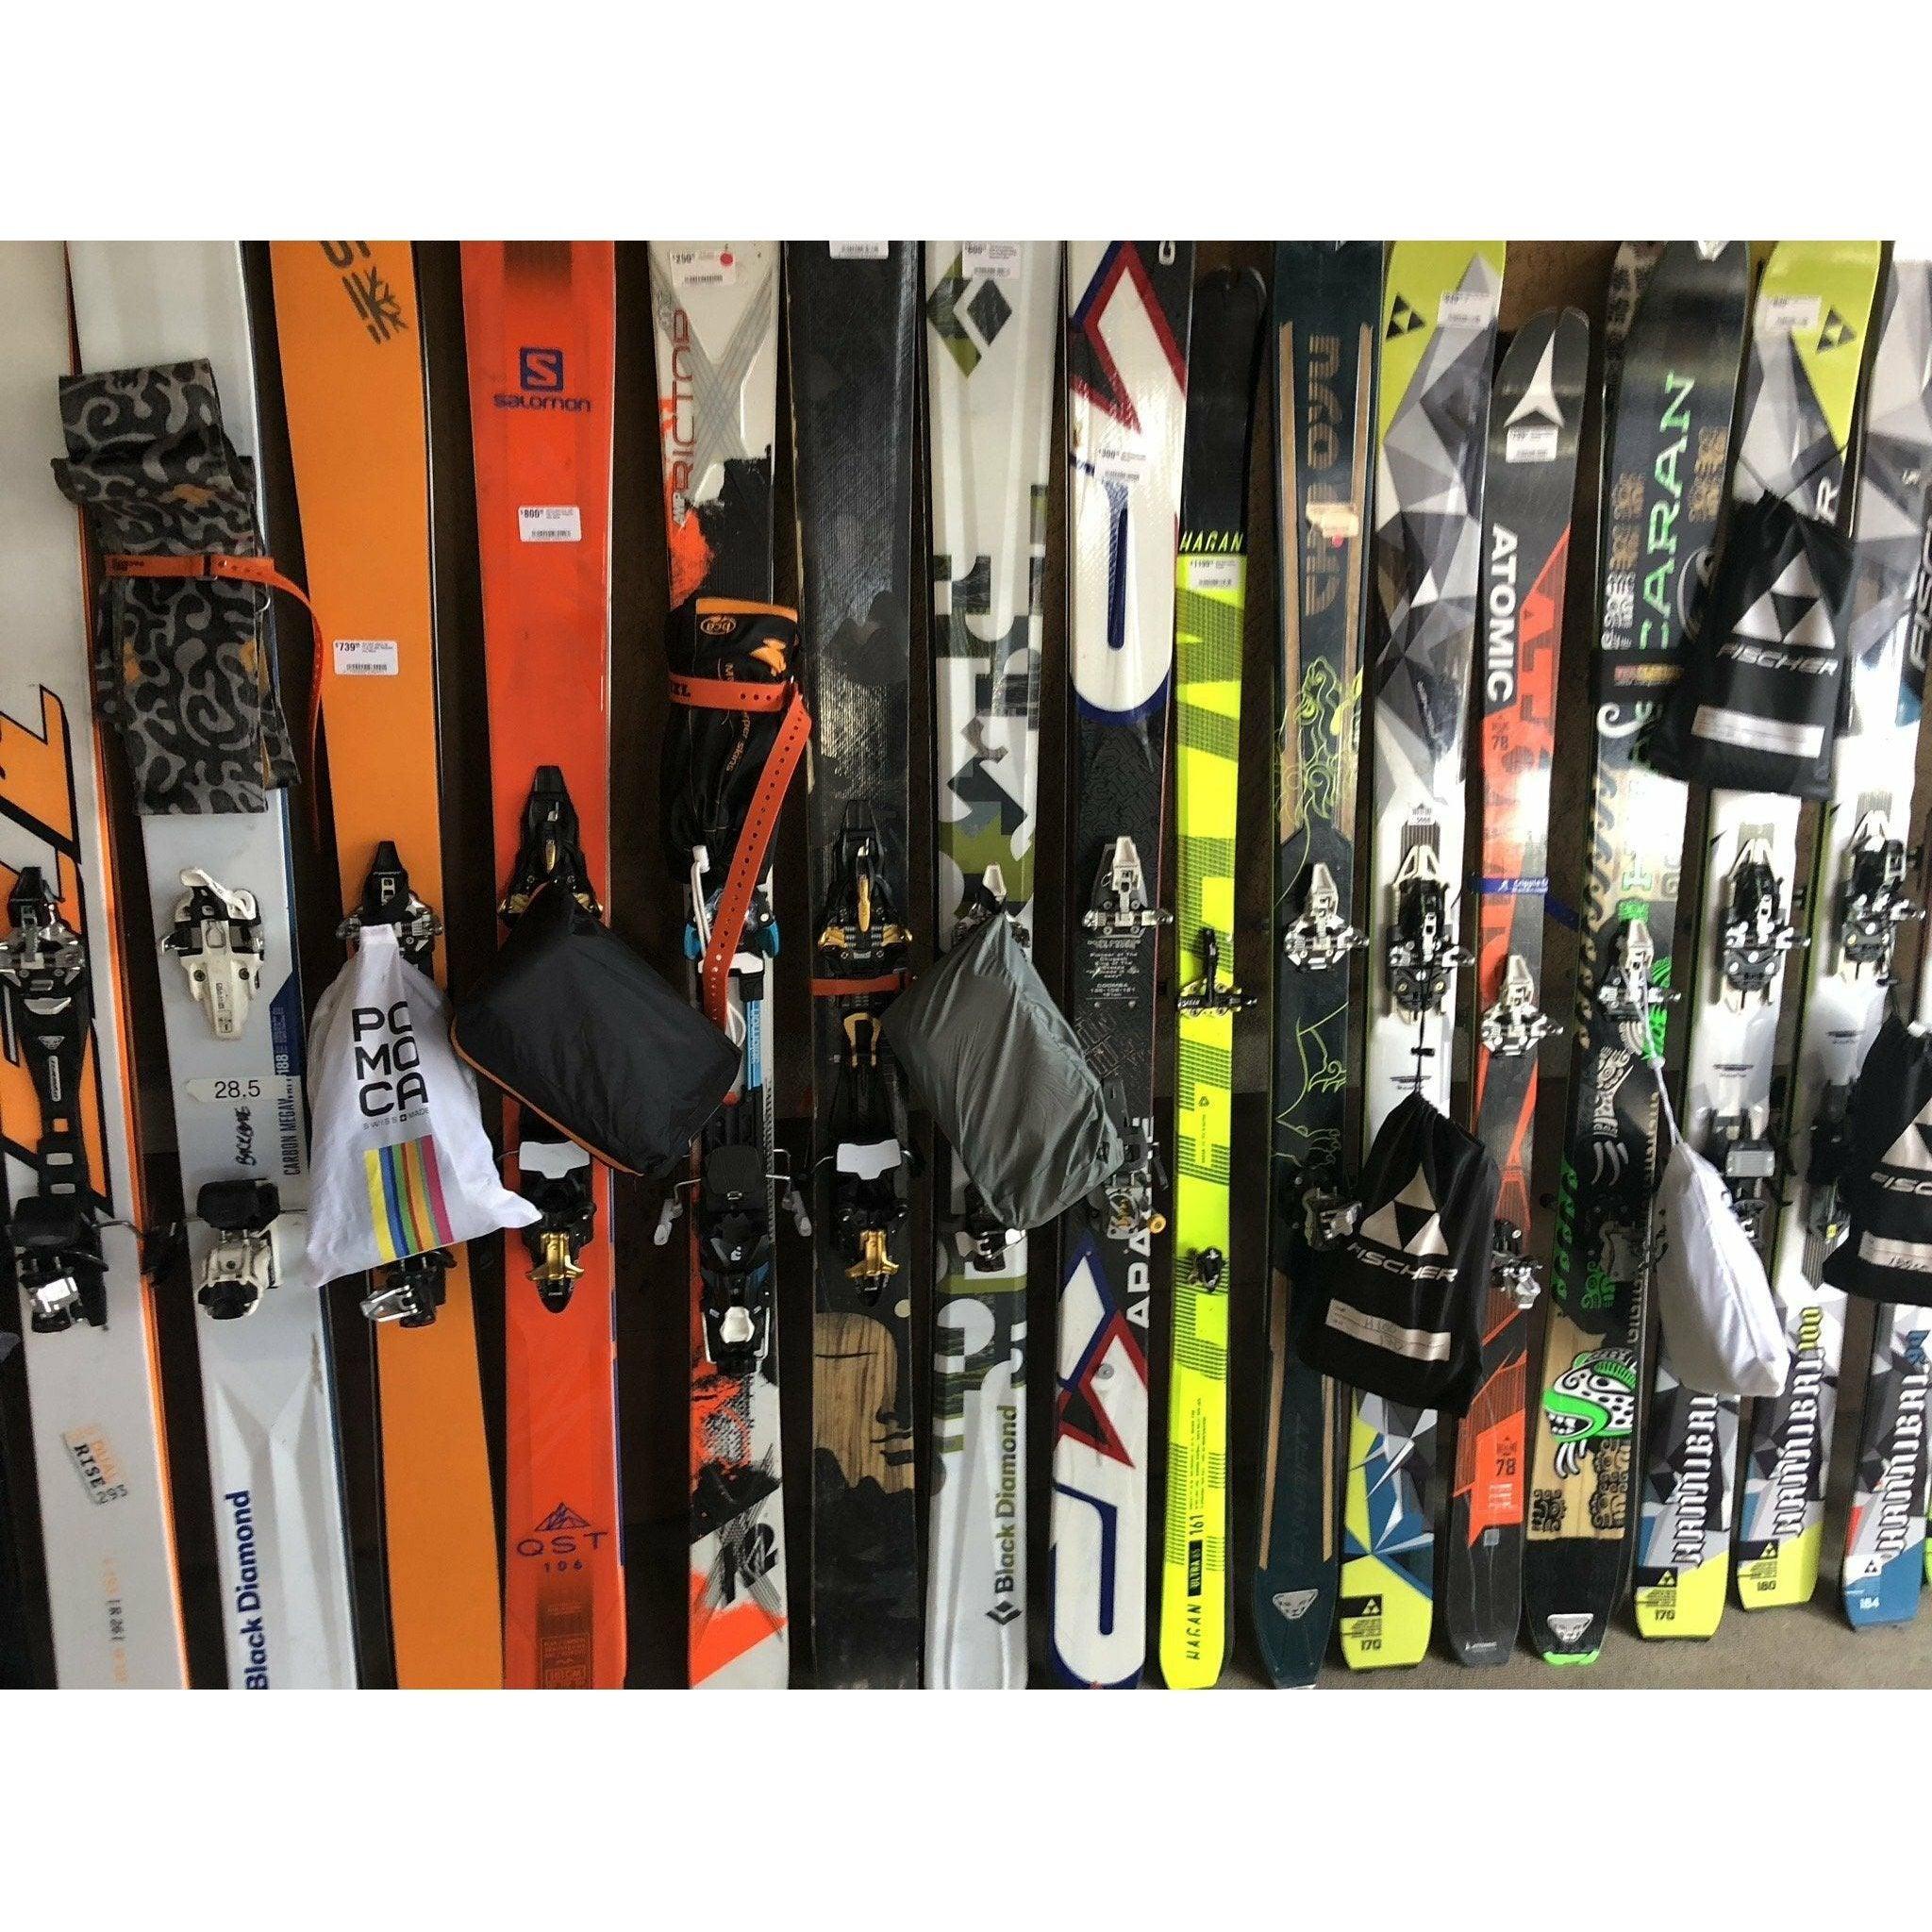
Once you log some hours touring, you will quickly understand the value of touring on a lightweight ski. To give you an idea of weight difference, Alpine skis typically weigh around 2000-2500 grams per ski while touring skis can range from 1000-1800 grams. When all is said and done, a touring ski could save you pounds in your setup, which translates to literal tons on the skin track. If you want to get the most out of your touring setup, expect to pay somewhere between $500-$1300 for a touring-specific ski.
Things to consider with a used touring ski
Touring skis utilize lightweight wood materials in their core. After drilling a ski more than two times it will be difficult to drill for a third time both in terms of spacing and ski performance. Mounting holes need to be drilled a minimum of 1 cm apart (hole center to hole center); re-mounting skis can prohibit you from mounting your binding to your ideal location. Other things to look for is the camber of the ski. After seasons of being ridden hard, skis can 'clap out' and with the camber losing its rebound. Check the edges of the ski for any signs of de-lamination, and check the bases for core shots which could lessen the integrity of the ski.

